• Tag

    DIY

    Browsing

    If the idea of a cookie-cutter wedding look feels a little… predictable, you’re not alone. More couples are stepping away from traditional bridalwear rules, not only to create something more personal, but also to keep costs down without sacrificing style.

    DIY wedding fashion is no longer just about crafty extras on the side. It’s becoming a full style approach for couples who want to experiment, repurpose, personalise and completely rethink what “wedding attire” is supposed to look like.

    Rethinking the wedding outfit entirely

    Before you even get to embellishments and accessories, the biggest shift is letting go of the idea that you need a traditional wedding dress or suit. Here are some alternative ways couples are building their looks:

    High-street + handmade mix
    Pair an affordable base piece with DIY details like altered hems, added sleeves or custom trims.

    Second-hand styling
    Thrifted dresses, vintage suits or even family heirlooms become the starting point for something completely new.

    Non-bridal pieces
    Think slip dresses, tailored trousers, jumpsuits, oversized shirts or even coordinated two-piece sets. If it fits well and feels good, it works.

    Rent and reinvent
    Start with a rental piece and personalise it temporarily with accessories, layering or detachable add-ons.

    The magic is in the customisation

    This is where DIY really comes alive. Small changes can completely transform a simple outfit into something that feels designer-level personal.

    Alterations with attitude
    Shorten a hem, add a slit, change a neckline or restructure sleeves. A good seamstress can turn “almost right” into perfect.

    Colour experimentation
    Soft dyeing, dip-dye effects or subtle tinting can take a plain white or cream piece into something far more interesting.

    Fabric layering
    Add sheer overlays, lace panels, organza skirts or detachable capes for movement and drama without buying a whole new outfit.

    Statement accessories that don’t break the bank

    Accessories are where DIY wedding fashion becomes fun instead of stressful.

    Veils with personality
    Add embroidery, printed phrases, coloured edges or even hand-sewn motifs that mean something to you as a couple.

    Repurposed jewellery
    Turn old family jewellery into hairpins, brooches or necklace details instead of buying new.

    DIY belts and waist details
    A simple ribbon, scarf or vintage chain can completely change the silhouette of a dress or suit.

    Handmade bags or pouches
    Small clutch bags can be painted, beaded or stitched with initials or wedding dates.

    Groom and groom-style DIY ideas too

    This isn’t just a bridal moment — it’s for anyone getting married.

    Custom suit lining
    A subtle but powerful detail: add prints, messages or meaningful fabric inside a jacket.

    Personalised ties and bow ties
    From bold patterns to embroidered initials or even inside jokes.

    Statement socks or shoes
    Colour, print or custom embroidery hidden under a formal look keeps things playful.

    Reworked vintage suits
    Oversized vintage tailoring can be altered into modern, perfectly fitted wedding wear at a much lower cost.

    Shoes that don’t behave (in the best way)

    Wedding shoes are often overpriced for what they are — which makes them perfect for DIY transformation.

    • Paint plain heels or sneakers to match your theme
    • Add pearls, rhinestones or fabric flowers
    • Replace laces with satin ribbons or velvet ties
    • Use fabric scraps from your outfit for cohesion
    • Restore vintage shoes and modernise them with small details

    Comfort matters too — especially if you’re planning to dance all night.

    Unexpected DIY fashion ideas

    If you really want to step away from tradition, these ideas push things further:

    Convertible outfits
    A skirt that comes off, sleeves that detach, or a cape that transforms your silhouette from ceremony to reception.

    Statement jackets for both partners
    Denim, leather or tailored blazers painted or embroidered with your story.

    Temporary fashion details
    Temporary tattoos, face gems or body art that match your wedding theme.

    Hidden messages
    Embroidery inside garments, stitched dates or secret notes only you know about.

    DIY fashion that actually saves money

    Not every DIY idea is about artistry — some are simply practical.

    • Buying second-hand and altering instead of buying new
    • Using one outfit in multiple ways with detachable layers
    • Sharing styling pieces between ceremony and reception
    • Renting key garments and customising them lightly
    • Choosing simple base pieces and upgrading them with DIY detail instead of designer labels

    It all adds up — especially when weddings already come with a long list of expenses.

    ALSO SEE: Buying vs hiring your wedding dress in South Africa: The 2026 bride’s guide to cost, style & smart choices

    Buying vs hiring your wedding dress in South Africa: The 2026 bride’s guide to cost, style & smart choices

    Feature image: Pexels

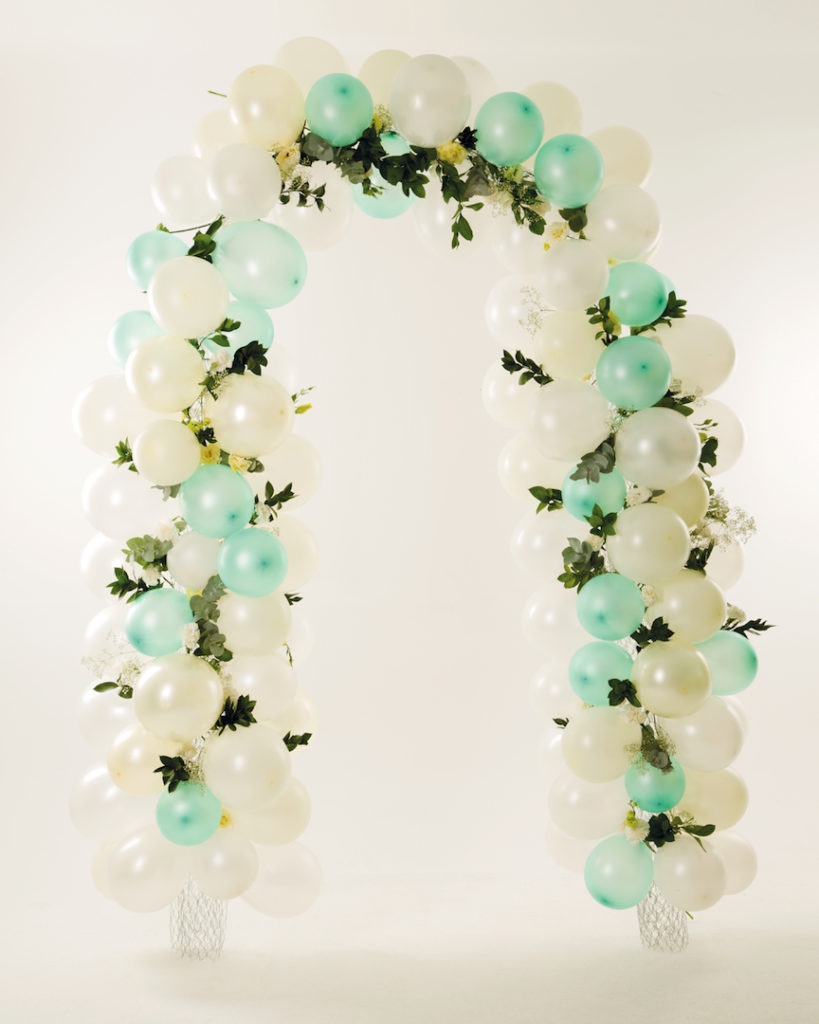
    Say your I-dos under this fresh, fun balloon wedding arch. Prepare the wire structure and balloons the day before, then just add greenery in the morning.

    WHAT YOU’LL NEED

    6 m chicken wire
    Florist’s wire
    Wooden rods or fishing line
    Florist’s foam
    Balloons
    Flowers and leaves

    INSTRUCTIONS

    Step 1

    Roll your chicken wire lengthways into a tube and bend in the centre to create an arch. Keep the arch together by tying florist’s wire at intervals along it.

    Step 2

    If the arch is going outside, use sturdy wooden rods or poles to stand it upright. Insert one end of each rod into the ground at least 20 cm deep. Place the bottom ends of the arch over the rods and secure with florist’s wire. If the arch will be placed indoors, suspend it from the ceiling with fishing line.

    Step 3

    Insert bits of damp florist’s foam into the arch, ensuring they are hidden.

    Step 4

    Blow up as many balloons as you like (we used 150) and attach to the arch using florist’s wire.

    Step 5

    Insert your flowers and leaves into the foam, using florist’s wire to hold them in place.

    Step 6

    Cover any exposed florist’s foam with balloons or flowers.

    ALSO SEE: How to make your own flower petal confetti

    How to make your own flower petal confetti

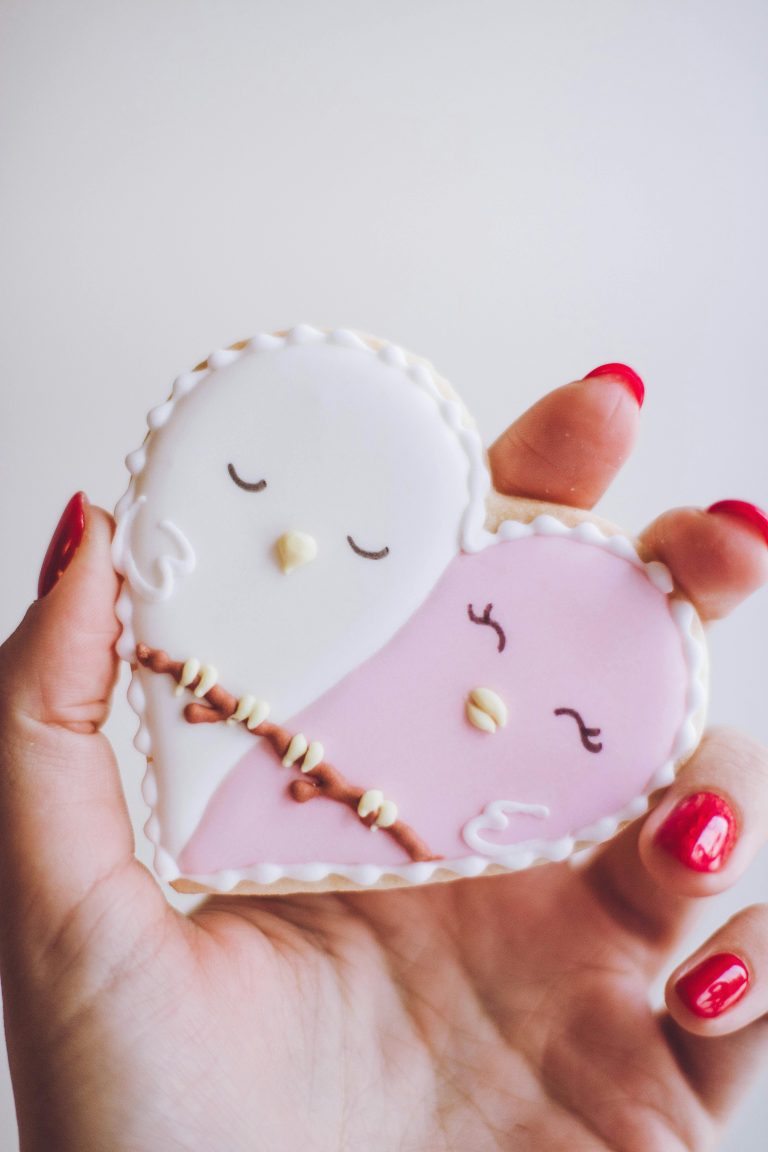
    Wedding favours are having a quieter, more intentional moment — and thank-you shortbread biscuits are leading the way. Delicate, nostalgic, and effortlessly elegant, these buttery treats add a personal touch to your celebration while giving guests something genuinely memorable to take home. Whether beautifully boxed, ribbon-tied, or displayed alongside your reception décor, shortbread biscuits are proof that the sweetest details are often the simplest.

    WHAT YOU’LL NEED
    250g butter, at room temperature
    ½ cup caster sugar, plus extra to dust
    1 vanilla pod, seeds only
    2 cups flour
    ½ cup cornflour
    Custom-made rubber stamps
    Biscuit cutters

    METHOD
    1. Have your rubber stamps made with the greetings of your choice (you can order stamps from rubberstampsa.co.za).
    2. Preheat oven to 160°C and grease a 20 cm baking tray.
    3. Beat the butter until soft, then beat in the caster sugar and vanilla seeds until light and fluffy. Mix in the rest of the ingredients to form a stiff dough.
    4. Roll the dough out on the baking tray so you don’t have to move it afterwards and cut them with your cookie cutters. Stamp each one with your rubber stamp.
    5. Bake for 30 minutes, or until golden. Remove from the oven and immediately dust with caster sugar.
    6. Carefully remove the shortbread fingers from the tray and transfer to a wire rack to cool before serving.
    7. Once they’ve cooled completely, you can put your biscuits in gift boxes or tie them up with cellophane and a pretty ribbon.

    In a world of elaborate wedding trends and over-the-top details, there’s something undeniably charming about a buttery shortbread biscuit wrapped with intention. Equal parts nostalgic and thoughtful, these sweet treats prove that wedding favours don’t need to be extravagant to leave a lasting impression. Sometimes, the most memorable gestures are the simplest ones – made with love, shared with gratitude, and enjoyed one crumb at a time.

    ALSO SEE: Budget-friendly wedding favours you can DIY

    Budget-friendly wedding favours you can DIY

    Featured image: Kristina Paukshtite / Pexels

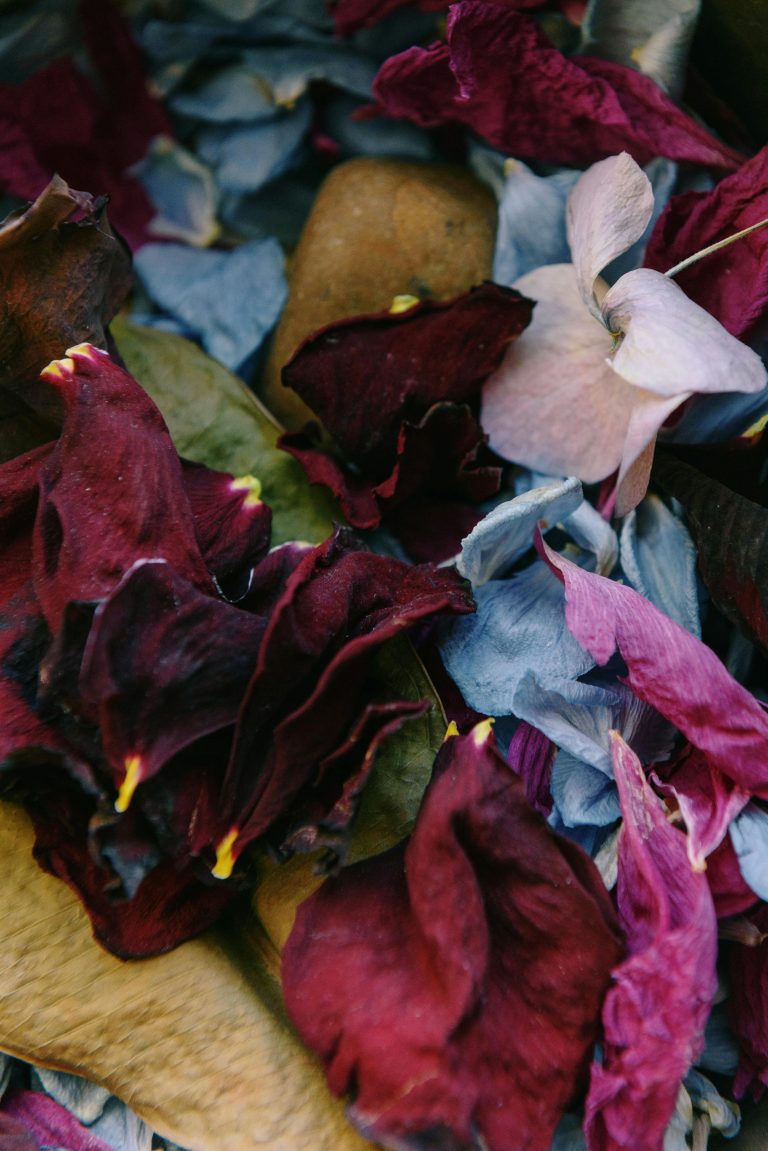
    There’s one specific wedding moment that never really gets old: the confetti toss. Dried flower petals as confetti is surprisingly easy to make yourself. Plus, it turns something fleeting into something personal, especially if the flowers come from your garden, your bouquet, or a place that means something to you.

    Here’s how to do it properly, without overcomplicating things:

    Why flower petal confetti works so well

    Petal confetti has become a wedding favourite for good reason. It looks softer in photos and it’s biodegradable.

    It’s also:

    • More sustainable than paper confetti
    • Easy to make in bulk
    • Naturally colour-customisable
    • Far more “organic” in movement when thrown

    And if you plan it right, it can even become part of your wedding prep ritual: a slow, satisfying DIY in the weeks leading up to the day.

    The best flowers to use (and how they behave when dried)

    Not all petals dry equally well. Some hold their colour beautifully, while others fade or become too brittle. The trick is choosing flowers that dry flat, light, and still visually interesting.

    Roses (the classic)

    Drying time: 1–3 weeks

    Roses are the go-to for a reason. They dry well, hold their shape, and keep a romantic softness that works in almost any colour palette.

    • Best for: blush, white, red, and peach tones
    • Tip: separate petals before drying for faster results
    • Result: soft, slightly curled petals with great colour retention

    Lavender (for texture and scent)

    Drying time: 1–2 weeks

    Lavender brings something extra — not just colour, but fragrance and texture.

    • Best for: rustic, countryside, or Provence-inspired weddings
    • Dries quickly and cleanly
    • Keeps its shape better than most petals

    Marigolds (for bold colour)

    Drying time: 1–2 weeks

    If you want confetti that shows up in photos, marigolds are a strong choice.

    • Bright oranges and yellows stay vibrant
    • Petals dry flat and lightweight
    • Ideal for summer weddings, especially in warm climates

    Hydrangeas (for softness and volume)

    Drying time: 2–3 weeks

    Hydrangeas don’t behave like traditional petals — they dry into delicate fragments that add softness and fullness.

    • Best used in pastel or muted palettes
    • Colours soften slightly when dried
    • Adds a “cloud-like” effect to confetti mixes

    Bougainvillea (a South African favourite)

    Drying time: 1–2 weeks

    Bougainvillea is practically made for confetti.

    • Naturally vibrant pinks, purples, and reds
    • Dries quickly in warm, dry air
    • Thin petals that flutter beautifully when thrown

    Delphinium (for cooler tones)

    Drying time: 2–3 weeks

    Delphinium brings in those softer blues and purples that are often hard to find in dried flowers.

    • Elegant and delicate
    • Works well in coastal or garden weddings
    • Needs gentle handling once dried

    How to dry the petals (the simple way)

    There’s no need for fancy equipment. Air drying works best and keeps the colour intact.

    1. Pick flowers early in the morning when they’re freshest
    2. Gently remove petals from stems
    3. Spread them out in a single layer on baking paper or a mesh tray
    4. Keep them in a cool, dry, shaded space
    5. Turn them every few days so they dry evenly

    Avoid direct sunlight, as it tends to bleach petals and make colours dull.

    Store your dried petals in paper bags or breathable containers until the wedding day.

    ALSO SEE: Locally loved flowers for your wedding bouquet

    Locally loved flowers for your wedding bouquet

    Feature image: Ksenia Chernaya/Pexels

    Who doesn’t enjoy a good glass of wine? From gin to beer, champagne to whiskey, alcohol is a mainstay at any wedding.

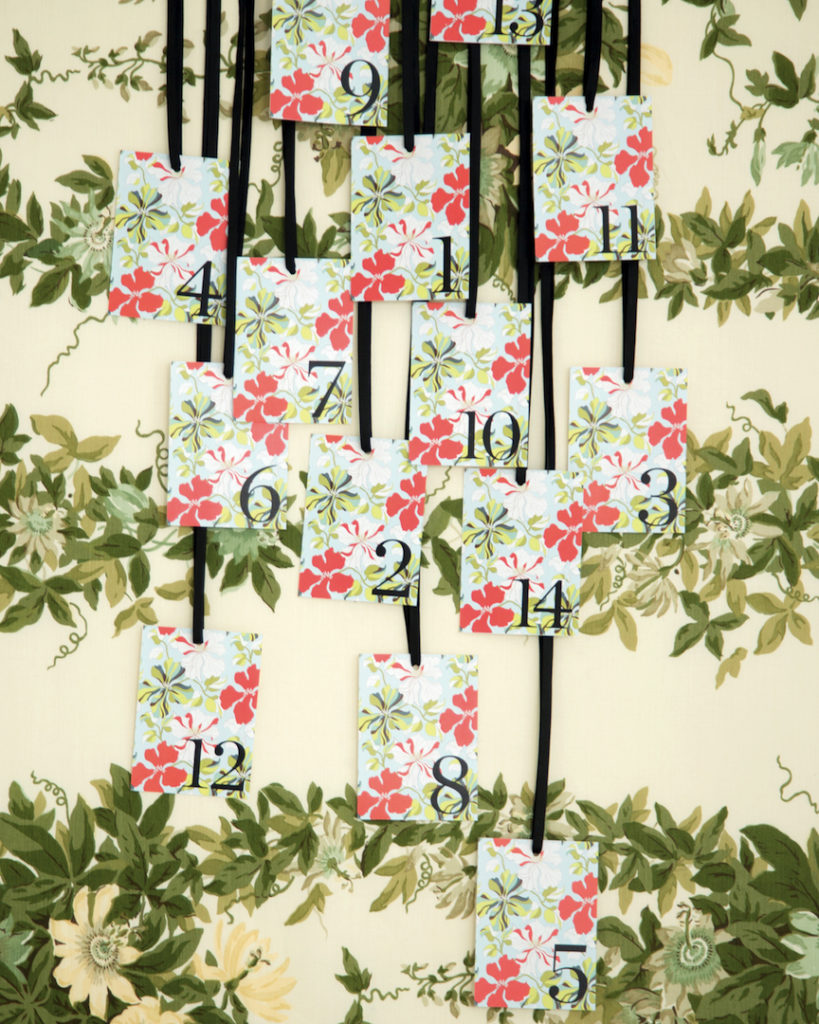
    Beyond just drinking it, why not incorporate alcohol into your decor? Bottles can be used in in a variety of ways for  many purposes. Use empty bottles as a DIY seating chart, or pour some glasses of champagne to use as an escort card.

    Here are a few boozy ideas to inspire you:


    View this post on Instagram


    A post shared by Lovely Bride ™ (@lovelybride)


    View this post on Instagram


    A post shared by WeddingWire (@weddingwire)


    View this post on Instagram


    A post shared by Rock My Wedding (@rockmywedding)

    ALSO SEE: Tips for choosing your wedding’s signature cocktail names

    Tips for choosing your wedding’s signature cocktail names

    Feature image: Pexels

    Accessories are the final cherry on top of the cake. From jewellery to hair accessories, there are a host of additions that can be made to complete your final bridal look.

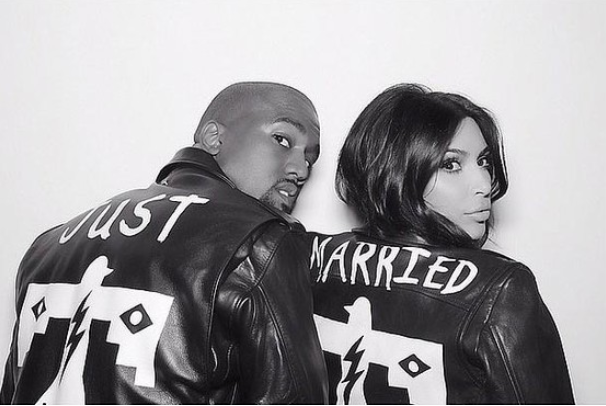
    Personalised bridal jackets have been trending for a few years now, most famously worn by Kim Kardashian West and Kanye West.

    Bridal jackets are typically leather or denim jackets adorned with personalised wedding script. Newlyweds wear these jackets on their wedding evening and as a bonus can keep it for decades to come. Another bonus is that it is easily DIY-able.

    Here are a few bridal jackets to inspire you on your big day:

    Crew love:

    Dress your bridal party in matching jackets to show off your squad.


    Just married:

    Shout out you newlywed status with these jackets.


    Wifey:

    You’ve got a new title now, and everyone can read it off your back.


    Till death:

    Have a physical reminder of your vows by emblazoning ’til death” on your bridal jacket.


    Babe:

    Not one for official titles? Go with a cute nickname like ‘babe’.


    Wife of the party:

    Remind everyone that it’s your day with a jacket screaming ‘wife of the party’, or ‘bride’.


    Get sappy:

    Once you’ve found your person, everything falls into place. Let them know how you feel with a jacket with ‘it was always you’ written across it, or let them know you’ve found your happily ever after.


    Surnames:

    Have your surnames emblazoned on your jackets for a personalised touch.


    Picture: Instagram / Kim Kardashian

    Wedding season is around the corner, and with that, lovely South African summer weddings. And although we love the warm evenings and longer days, a summer wedding does come with its fair share of drawbacks. We’ve gathered some solutions to help you keep your cool, and your guests comfortable.


    View this post on Instagram


    Just in time for the heatwave… ? ⠀ ⠀ Themal water is excellent for refreshing, but it can dry your skin out. Try this natural DIY face mist instead! It’s perfect for the hot days, conditioned rooms, and planes: you can bring a small bottle in your carry-on. ⠀ ⠀ ? Moisturizing Rose Water DIY Face Mist ? ⠀ ⠀ You’re going to need:⠀ ? 1 part of distilled water⠀ ? 1 part of rose water⠀ ? 5-7 drops of your favorite essential oil(s), e.g., lavender, jasmine, rose geranium, tea trea, bergamot… ⠀ ⠀ ? Blend all of these together in a spray bottle or mister and spritz on your face whenever you feel like it. Oh, and don’t forget to reapply your SPF and drink another glass of cool water!⠀ ⠀ ? Keep in mind that you may have individual reaction to some essential oils. ⠀ ⠀ #thermalwater #heatwave #staycool #diyfacespray #diyfacemist #facespray #facemist #diy #naturalskincare #naturaldiy #naturalcosmetics #skincareroutine

    A post shared by NatureHub app (@naturehub.official) on

    DIY mists

    We love a good DIY project, and this one is particularly practical. It will not only help keep your guests cool (and smelling lovely), but could serve as a nifty little favour as well.  You’ll need:

    • Small bottles with fine-mister nozzles (you can buy them at most bulk plastic suppliers)
    • Distilled water
    • Glycerin (a few drops per bottle)
    • Essential Oils (a few drops per bottle)

    Combine all the ingredients in the bottles, and shake well. Try peppermint, lemongrass or lavender essential oils for a fresh, invigorating scent that repels bugs at the same time.

    Citronella candles

    No matter where you are, mosquitoes always somehow manage to join the party and bring an unwelcome annoyance. Place citronella candles or diffusers with citronella essential oil on tables inside and outside, close to food, or wherever your guests will spend the most of time, to keep the bugs away.

    Drink up!

    Yes, your guests will most likely be sipping champagne, cocktails and the like, but it’s important to also have plenty of water available too. Alcohol causes us to develop a slight flush, even if it’s not noticeable in some people, leading to higher body temperature and dehydration to some degree, and even more so in hot weather. Have jugs and bottles of ice-cold water ready at a dedicated hydration station so guests have no excuse not to stay hydrated.

    Individual parasols and fans

    If you’re having an outside ceremony, it’s essential to provide your guests with some sort of shelter against the blistering sun. If you don’t plan on having umbrellas, provide your guests with individual parasols that they can use during the ceremony. Fans are also ideal to offer your guests to give them the option of fanning themselves during the ceremony as well as the rest of the night during dance breaks.


    Image: Unsplash