• Category

    GROOM STYLE

    Category

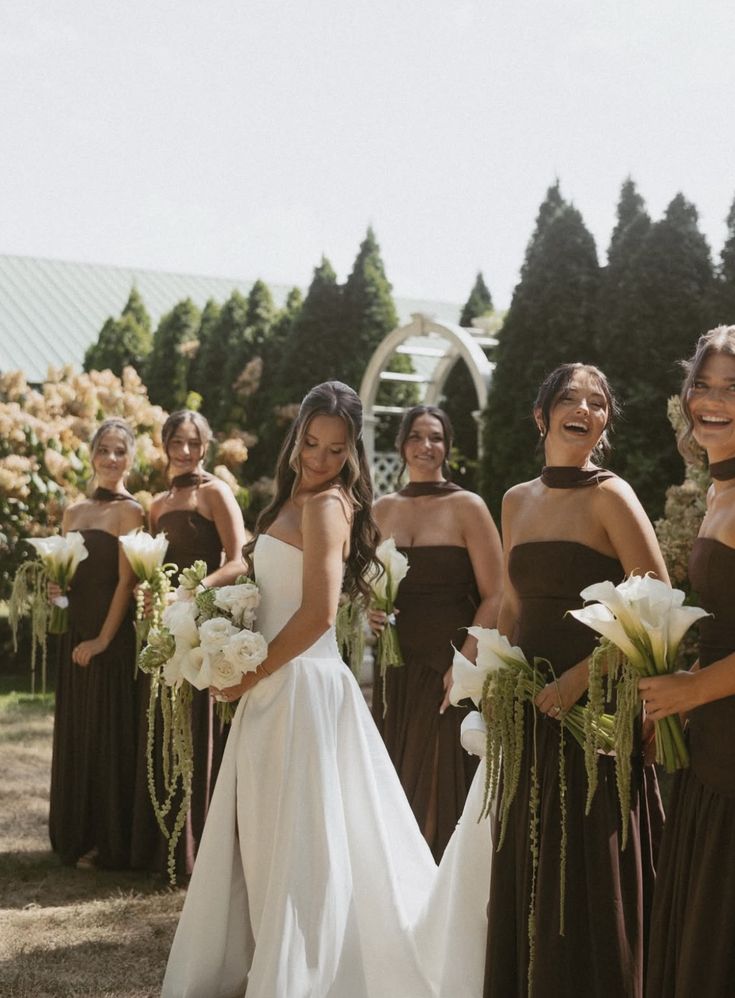
    If the idea of a cookie-cutter wedding look feels a little… predictable, you’re not alone. More couples are stepping away from traditional bridalwear rules, not only to create something more personal, but also to keep costs down without sacrificing style.

    DIY wedding fashion is no longer just about crafty extras on the side. It’s becoming a full style approach for couples who want to experiment, repurpose, personalise and completely rethink what “wedding attire” is supposed to look like.

    Rethinking the wedding outfit entirely

    Before you even get to embellishments and accessories, the biggest shift is letting go of the idea that you need a traditional wedding dress or suit. Here are some alternative ways couples are building their looks:

    High-street + handmade mix
    Pair an affordable base piece with DIY details like altered hems, added sleeves or custom trims.

    Second-hand styling
    Thrifted dresses, vintage suits or even family heirlooms become the starting point for something completely new.

    Non-bridal pieces
    Think slip dresses, tailored trousers, jumpsuits, oversized shirts or even coordinated two-piece sets. If it fits well and feels good, it works.

    Rent and reinvent
    Start with a rental piece and personalise it temporarily with accessories, layering or detachable add-ons.

    The magic is in the customisation

    This is where DIY really comes alive. Small changes can completely transform a simple outfit into something that feels designer-level personal.

    Alterations with attitude
    Shorten a hem, add a slit, change a neckline or restructure sleeves. A good seamstress can turn “almost right” into perfect.

    Colour experimentation
    Soft dyeing, dip-dye effects or subtle tinting can take a plain white or cream piece into something far more interesting.

    Fabric layering
    Add sheer overlays, lace panels, organza skirts or detachable capes for movement and drama without buying a whole new outfit.

    Statement accessories that don’t break the bank

    Accessories are where DIY wedding fashion becomes fun instead of stressful.

    Veils with personality
    Add embroidery, printed phrases, coloured edges or even hand-sewn motifs that mean something to you as a couple.

    Repurposed jewellery
    Turn old family jewellery into hairpins, brooches or necklace details instead of buying new.

    DIY belts and waist details
    A simple ribbon, scarf or vintage chain can completely change the silhouette of a dress or suit.

    Handmade bags or pouches
    Small clutch bags can be painted, beaded or stitched with initials or wedding dates.

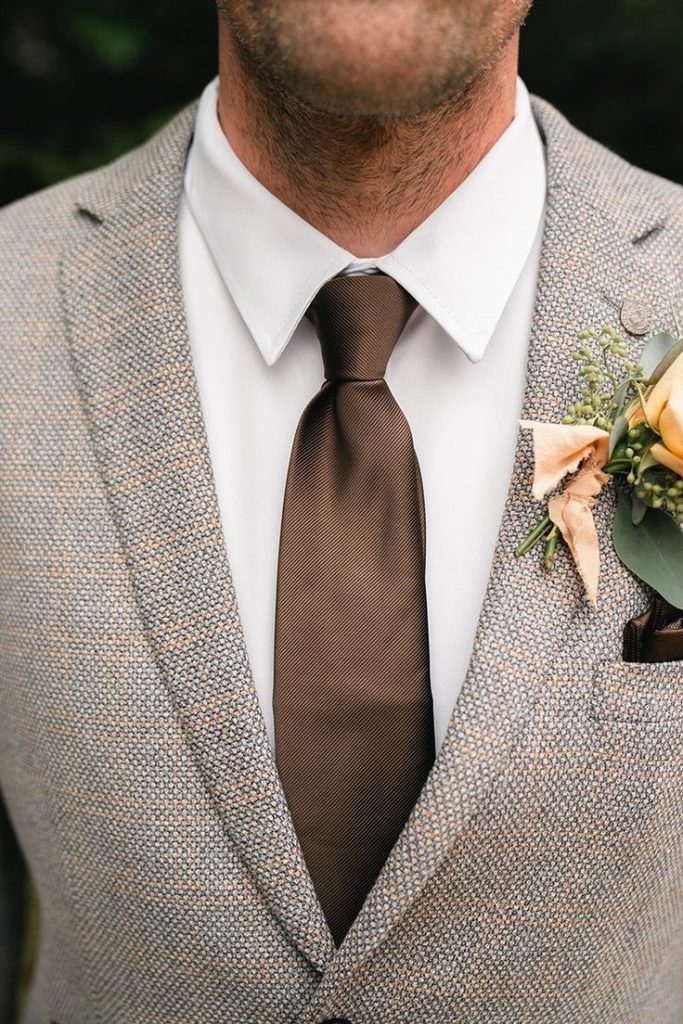
    Groom and groom-style DIY ideas too

    This isn’t just a bridal moment — it’s for anyone getting married.

    Custom suit lining
    A subtle but powerful detail: add prints, messages or meaningful fabric inside a jacket.

    Personalised ties and bow ties
    From bold patterns to embroidered initials or even inside jokes.

    Statement socks or shoes
    Colour, print or custom embroidery hidden under a formal look keeps things playful.

    Reworked vintage suits
    Oversized vintage tailoring can be altered into modern, perfectly fitted wedding wear at a much lower cost.

    Shoes that don’t behave (in the best way)

    Wedding shoes are often overpriced for what they are — which makes them perfect for DIY transformation.

    • Paint plain heels or sneakers to match your theme
    • Add pearls, rhinestones or fabric flowers
    • Replace laces with satin ribbons or velvet ties
    • Use fabric scraps from your outfit for cohesion
    • Restore vintage shoes and modernise them with small details

    Comfort matters too — especially if you’re planning to dance all night.

    Unexpected DIY fashion ideas

    If you really want to step away from tradition, these ideas push things further:

    Convertible outfits
    A skirt that comes off, sleeves that detach, or a cape that transforms your silhouette from ceremony to reception.

    Statement jackets for both partners
    Denim, leather or tailored blazers painted or embroidered with your story.

    Temporary fashion details
    Temporary tattoos, face gems or body art that match your wedding theme.

    Hidden messages
    Embroidery inside garments, stitched dates or secret notes only you know about.

    DIY fashion that actually saves money

    Not every DIY idea is about artistry — some are simply practical.

    • Buying second-hand and altering instead of buying new
    • Using one outfit in multiple ways with detachable layers
    • Sharing styling pieces between ceremony and reception
    • Renting key garments and customising them lightly
    • Choosing simple base pieces and upgrading them with DIY detail instead of designer labels

    It all adds up — especially when weddings already come with a long list of expenses.

    ALSO SEE: Buying vs hiring your wedding dress in South Africa: The 2026 bride’s guide to cost, style & smart choices

    Buying vs hiring your wedding dress in South Africa: The 2026 bride’s guide to cost, style & smart choices

    Feature image: Pexels

    While much of the planning attention often centres on the bride, the groom has an important role to play too. A few simple preparations can help you look sharp, feel comfortable and stay calm throughout the celebration. These tips will help ensure everything runs smoothly before (and while) you say “I do”.

    Bring a spare shirt

    Weddings can be emotional, busy and sometimes warm. Between nerves, hugs and dancing, it’s easy to sweat through a shirt. Pack a second crisp shirt so you can change before the reception or photos later in the day.

    Empty your pockets

    Phones, wallets, keys and loose change can create awkward bulges in suit trousers and they will show in photos. Before the ceremony and portraits, do a quick pocket check and hand essentials to a groomsman.

    Break in your shoes

    Brand-new dress shoes might look great, but they can quickly become uncomfortable. Wear them around the house a few times before the wedding to soften the leather and avoid blisters.

    Do a full outfit trial

    Try on your entire outfit before the big day, from tie or bowtie to cufflinks and shoes. A quick dress rehearsal ensures nothing is missing and helps you feel confident getting ready on the morning of the wedding.

    Prepare your accessories

    Small details complete the look. Lay out your cufflinks, watch, belt, tie clip and pocket square the night before so you’re not rushing to find them while getting dressed.

    Practise your speech

    If you’re planning to give a speech, run through it a few times beforehand. You don’t need to memorise every word, but feeling familiar with the flow will help calm nerves and make the moment feel more natural.

    Keep a small groom kit

    A simple emergency kit can save the day. Include items like deodorant, breath mints, tissues, a lint roller and stain remover wipes and ask a groomsman to keep it nearby.

    Trim and groom ahead of time

    Schedule haircuts or beard trims two to three days before the wedding. This allows everything to settle so you look polished but natural in photos.

    Assign a trusted groomsman

    Give one groomsman the responsibility of holding essentials like the rings, vows or your phone. It keeps your pockets empty and your mind free from small worries.

    ALSO SEE: Wedding ceremony tips to know before you walk down the aisle

    Wedding ceremony tips to know before you walk down the aisle

    Feature image: Pexels

    Soft neutrals will always have a place in weddings, but 2025 has welcomed a richer shade into the spotlight. Chocolate brown has emerged as a key wedding colour trend. Now, we must admit, brown wasn’t at the top of our list of favourite colours, but seeing how it has been used at weddings made us fall in love a little.

    Why chocolate brown works for weddings

    Chocolate brown strikes a rare balance. It feels warm without overpowering a palette and refined without feeling cold. As a wedding colour trend, it offers something different while still photographing beautifully and ageing well over time.

    It also complements a wide range of skin tones and transitions effortlessly between seasons, making it a strong choice for couples wanting to move beyond predictable whites and beiges without committing to bold colour.

    Bridesmaid dresses in chocolate brown

    wedding colour trend
    Photo: Birdie Grey/Pinterest

    Bridesmaid dresses are one of the easiest and most impactful ways to incorporate this wedding colour trend. Chocolate brown is flattering, wearable and instantly cohesive, whether styled in matching gowns or mixed silhouettes.

    Satin and silk elevate the shade for more formal celebrations, while chiffon and matte fabrics soften the look for relaxed settings. Paired with gold jewellery, natural makeup and neutral bouquets, the result feels polished but unfussy.

    Using chocolate brown in wedding decor

    In decor, chocolate brown works best as a grounding layer rather than the main focus. Table linens, runners or napkins in warm brown tones add depth when paired with white crockery, candlelight and natural textures.

    For ceremonies, subtle brown accents through wood elements, fabric details or earthy floral arrangements help anchor the space. Keeping lighter tones like ivory or blush in the mix ensures the overall look remains fresh and inviting.

    Stationery and styling details

    Photo: Kaleidoscope Events/Pinterest

    This wedding colour trend shines in the details. Chocolate brown adds richness to stationery through textured paper, warm ink tones or wax seals, setting a refined tone from the first impression.

    It also translates beautifully into styling touches such as signage, cake detailing or groom accessories like brown leather shoes or belts, creating cohesion without feeling overly styled.

    Colours that pair well with chocolate brown

    Part of chocolate brown’s appeal lies in its versatility. Paired with cream or stone, it creates a timeless, neutral palette. Blush and dusty rose add softness, while olive green, terracotta or black introduce a more contemporary edge.

    Metallic accents like gold or bronze lift the palette further, adding warmth and subtle contrast without overpowering the look.

    ALSO SEE: 7 Wedding artists who turn weddings into works of art

    7 Wedding artists who turn weddings into works of art

    Feature image: Show Me Your Mumu/Pinterest

    In recent years, the wedding beauty spotlight has expanded beyond the bride and grooms are increasingly owning their moment. From subtle skin enhancement to full grooming routines, many men are embracing beauty practices to feel confident and camera-ready. Below, we explore the trend, offer practical routines, share tips for subtle male makeup, and feature insights from makeup artists who work with grooms.

    Why the Groom Makeup & Beauty Trend Is Growing

    • According to Vogue Business, searches for “groom makeup” rose 42% in the past year, and posts referencing male beauty and nails have increased significantly.

    • The shift reflects broader cultural changes toward gender-inclusive beauty norms, as well as the fact that wedding photos and videos are scrutinized more than ever.

    • Men are not just getting haircuts and cologne—they’re investing in facials, skincare serums, beard grooming, tinted products, and even cosmetic treatments (e.g. Botox or fillers) to achieve sharper, more camera-friendly features.

    • As one makeup artist Damilola Adejonwo notes, many male clients seek a “skin prep + powder + oil control” look, rather than dramatic makeup; some do opt for fuller glam, especially in LGBTQ+ weddings.

    Groom Skincare & Pre-Wedding Grooming Routine

    To ensure that makeup (if used) sits well, and the skin appears healthy and luminous, here’s a layered routine grooms can adopt in the months leading up to the wedding:

    Timeframe Focus Actions / Tips
    3–6 months ahead Building foundation Start a consistent skincare regimen, cleanse, exfoliate (1–2× weekly), moisturize, sunscreen daily.
    See a dermatologist or facialist for tailored treatments (chemical peels, microdermabrasion) if needed.
    Begin nail, eyebrow, and beard grooming (clean trims, shaping, conditioning).
    1–2 months ahead Touch-ups & trial Do a trial with the makeup artist to test products and tones under your wedding lighting / photography setup.
    Use hydrating masks, under-eye treatments, and final exfoliation carefully (avoid irritation).
    Keep consistent sleep, hydration, healthy diet—skin shows your lifestyle.
    1 week ahead Maintenance & rest Avoid trying new products; stick to your tried routine.
    Get a gentle facial (no aggressive peels).
    Trim beard and hair; shape brows gently.
    Use nights for richer moisturizer; morning for light coverage or sunscreen.
    Wedding day Priming & finishing Cleanse and hydrate, apply primer or mattifier, under-eye corrector, very light coverage (e.g. tinted moisturizer or skin tint), press-powder to control shine.
    Touch-ups via blotting papers or compact powder throughout the day.
    Keep grooming kit on standby (small comb, beard oil, clear lip balm).

    Additional tips:

    • Use sunscreen always—even when indoors—since UV light affects skin tone.

    • Don’t over-exfoliate or strip the skin; balance is key.

    • Grooming is more than face: hands, nails, lips, and even ears/neck should be clean and cared for.

    How to Speak to Male Makeup Subtly for Camera

    When applying makeup on grooms, the goal is to enhance, not transform. Here’s how makeup artists approach it:

    • Less is more: Use sheer or skin-tint products rather than heavy foundations; the aim is imperceptible enhancement.

    • Correct first, then polish: Conceal dark circles, redness, or blemishes; then even tone with minimal coverage.

    • Matte / soft finish: Use a translucent powder or mattifier in zones prone to shine (T-zone, nose). Avoid overly dewy finishes unless tailored to skin type.

    • Beard & hair integration: For men with beards, makeup artists often feather product into beard edges to soften harsh lines. Hair fibers or tinted eyebrow / lash products may be used to fill sparse areas.

    • Blending & lighting: Blend product well into skin, check under different light sources (natural light, flash) to avoid unnatural edges or color mismatches.

    • Allow input & comfort: Many grooms will be new to makeup; the artist should explain steps, show swatches, and make the process comfortable.

    Voices from Makeup Artists & Experts

    Here are a few perspectives from professionals working with grooms:

    • Damilola Adejonwo (male makeup specialist) notes that many grooms approach makeup tentatively. He emphasizes asking questions, listening closely to their comfort level, and focusing on subtle skin prep as many have never worn makeup before.

    • In a bridal / groom makeup guide by Beauty Intervention, artists highlight key correction areas: skin tone, under-eye, blemishes, and balancing shine. They also note how male clients often want a quick, efficient session (15–20 minutes) rather than a full glam routine.

    • One industry observation: “the groom definitely does not take as much time” as the bride’s makeup,  but logistical planning is essential (artists may need to relocate, schedule buffer times) to accommodate both.

    Featured Image: Canva

    When planning your wedding in South Africa, one of the key decisions is whether to buy or hire suits for the groom and groomsmen. Both options have their advantages and costs, and the best choice depends on your budget, style preferences, and how often you anticipate wearing the suit again.

    Buying a Tailored Suit

    Pros:

    • Custom fit tailored to your measurements.

    • Personalized fabric and style choices.

    • Long-term investment for future events.

    Cons:

    • Higher upfront cost.

    • May require additional alterations.

    Cost:

    • A 2-piece suit from a reputable tailor like Kale & Co Bespoke starts at R15,500, excluding VAT.

    • Tailored suits from brands such as The Tux Tailor and Tip Top Tailor are available from R5,500 to R6,000.

    Hiring a Suit

    Pros:

    • Lower upfront cost.

    • No need for storage or maintenance.

    • Ideal for one-time events.

    Cons:

    • Limited customization options.

    • May not fit as perfectly as a tailored suit.

    Cost:

    • Suit hire prices range from R550 to R1,590, depending on the package and accessories included.

    Cost Comparison

    Option Starting Price (ZAR) Customization Ideal For
    Buying R5,500 – R18,500 High Frequent wear
    Hiring R550 – R1,590 Low One-time events

    Which Option is Right for You?

    • Buy a suit if you plan to attend multiple formal events or want a personalized fit and style.

    • Hire a suit if you’re looking for a cost-effective solution for a single event without the need for long-term storage.

    Local Suit Hire and Tailoring Options

    • Mr Suit Hire: Offers a range of suits for hire starting from R550.

    • The Dress Suit: Provides complete outfit hire packages, including suit, shirt, waistcoat, cravat, hanky, and cuff links for R1,590.

    • Kale & Co Bespoke: Specializes in high-end tailored suits starting from R15,500.

    • The Tux Tailor: Offers tailored suits from R5,500.

    Choosing between buying and hiring a suit depends on your personal preferences, budget, and how often you anticipate wearing the suit again. Consider the long-term value of owning a tailored suit versus the immediate cost savings of hiring. Whichever option you choose, ensure it aligns with your wedding vision and personal style.

    Featured Image: Canva