Bridal showers are a way for all the women in the bride’s life to come together, get to know each other, and celebrate the bride-to-be. Games at a bridal party keeps things light and ensure that there are no awkward silences.
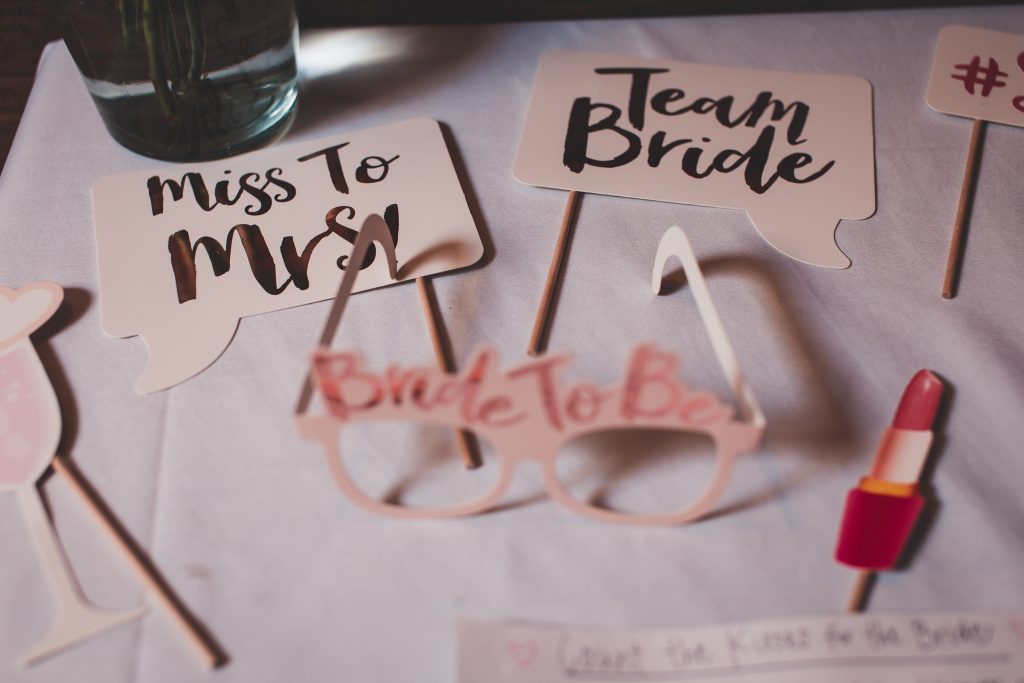

Bridal showers are a way for all the women in the bride’s life to come together, get to know each other, and celebrate the bride-to-be. Games at a bridal party keeps things light and ensure that there are no awkward silences.
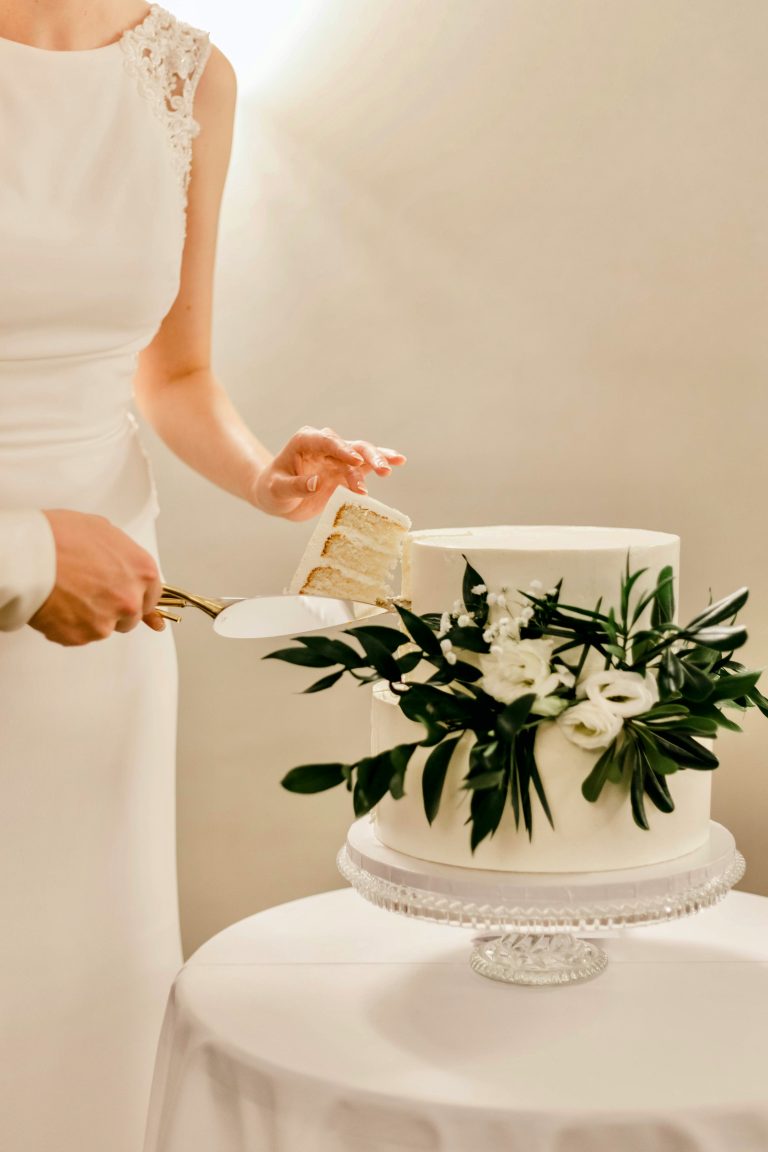
One of the wedding traditions that have stood the test of time in some relationships is the preservation of the top tier of a wedding cake. Couples save the top tier of their wedding cakes and eat it on their one-year anniversary. It may sound impractical, but we’re here to show you how to do it!
Before we get to the tips for preserving your wedding cake, perhaps a little background on the tradition is necessary. These days, saving your cake for a year is understood as an omen for good luck. But where does the tradition come from?
The story of cake preservation has two short parts. The first is that having a child in the first year of marriage was much more common in years gone by. For this reason, a couple would prefer to save a part of the wedding cake for the celebration of the birth of their child instead of getting a new cake.
The second part of its story goes back to the 19th century and follows the actions of Queen Elizabeth II (or Princess Elizabeth at the time). When the Princess married Prince Philip in 1947, they had a three-tier cake. Each tier had a designated purpose – the bottom tier was to be cut at the wedding, the middle was to be sent off as a gift, and the top tier was to be saved for a future occasion. The future occasion here was the presumed upcoming birth of a child.
Now, instead of saving it for the birth of the first child, the couple saves it for the first anniversary which is usually much closer in time to the wedding. The tradition seems to have stuck as a symbol of bringing the past into the present and of celebration.
So, how do you preserve your top tier? Here are a few tips:
– Decide on preserving it in advance
To ensure that the top tier doesn’t get cut on your wedding day, let your caterer know that you’ll be preserving it well before the ceremony. Deciding on preserving the cake early also helps you decide on fillings which may be longer lasting than others or decorations and designs that are able to withstand a year in the freezer.
– Remove ornaments and flowers (real or sugar)
When you wrap the cake, it needs to be airtight. The extra decorations will prevent the cake from being wrapped airtight.
– Chill the cake
As soon as you get a chance, pop the cake in the freezer. This allows the cake to harden and preserve the icing properly. Ensure that there are no soft bits around the cake before you take it out of the freezer.
– Double wrap it
First, wrap the cake with plastic. Push the plastic onto the cake so that there are no air bubbles. Then cover it again with foil. This ensures that nothing can get in. It also helps to ensure that other things in the freezer don’t pass their smells or tastes onto your cake.
– Freeze
Once the cake is tightly wrapped, label it (to ensure it doesn’t get mistaken for something else) and pop it in the freezer!
– Eat later
Once your first anniversary comes, you’ll defrost the cake. Take the cake out of the freezer the day before your anniversary and keep in the fridge overnight. Then take it out of the fridge and leave it at room temperature for about 5 hours. Thereafter, it’ll be ready to eat!
Many couples want to participate in this tradition but, for whatever reason, prefer not to save the cake. If you don’t see yourself saving the cake, but still want the sentiment and symbolism that comes with this tradition on your first anniversary, chat to your caterer and let her know that in a year you’ll be ordering an identical top tier. You may end up receiving a special deal or a totally free top tier!
ALSO SEE: Your guide to the perfect wedding seating plan
Image: Pexels
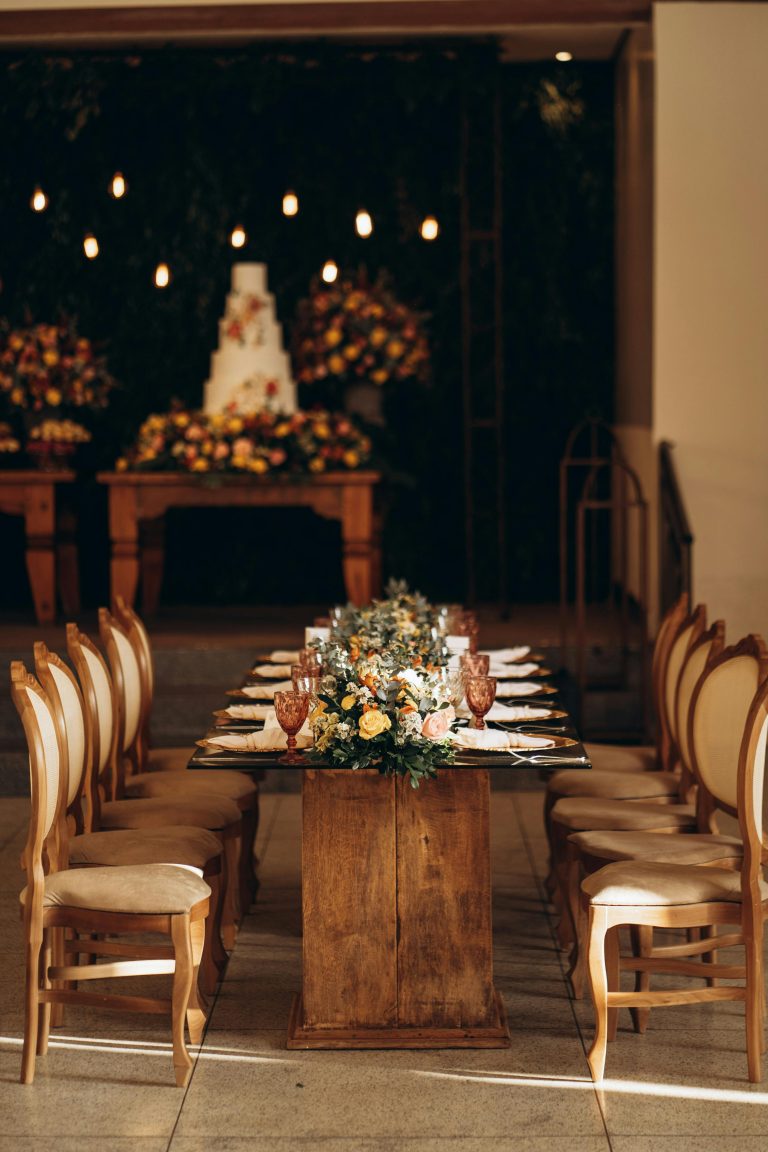
If you’ve just made it past the potential minefield that is the guest list, here’s your next challenge: How are you going to seat everyone? Round tables? Long ones? One long banquet table? Goodness. Read on to set your mind free from all these decisions…
1. DANCE FLOOR FIRST!
This is your starting point. The most popular – and effective – option is to plonk your dance floor in the centre of the room. Then you’ll position the band or DJ against the wall. If your venue doesn’t allow for this, you can place the dance floor at one end of the room, centred and backed up against a wall.
2. FIND YOUR TABLES
Choose the shape and size of your tables – but regardless of this, make sure the two of you are in a central spot that your guests can see. Figure out how many guests fit at each table, to determine how many tables you will need.
3. THE FLOOR PLAN
Start with yourself and your SO – you get the best seats in the house, whether that means with the best view or closest to the bar (it’s been a long few months!) Then arrange your tables as symmetrically as possible – in a U-shape around the centre dance floor or fill one end of the space (if the dance floor is on the one side).
4. VIPs
Reserve the tables closest to the two of you for your immediate families, and set aside tables further from the band/DJ for older guests. The less desirable seats should be saved for your friends. Keep people together who will enjoy the time together – perhaps there are family members who haven’t seen each other in a while?
5. THE BAR
This will also be dependent on your venue, but as a rule of thumb, the bar should be away from the entrance to avoid possible congestion. If you have more than one bar (one bar with two bartenders for every 100 guests is a good point of measure), then position one close to the dance floor and another one on the other side of the room.
6. ARRANGE THE NAMES
Now that the hard work is over, how are you going to let your guests know where to sit on the day? If you have more than 75 guests, displaying their names in alphabetical order is the most convenient option, to eliminate confusion and unnecessary time spent at the seating chart. To make it more exciting, give each guest a refreshing cocktail or glass of bubbly along with their table number – it really sets the tone for a festive reception!
ALSO SEE: How to save money on wedding flowers without sacrificing style
How to save money on wedding flowers without sacrificing style
Written by Claire Davies for Wedding Etc. Summer 2020
Feature image: Pexels
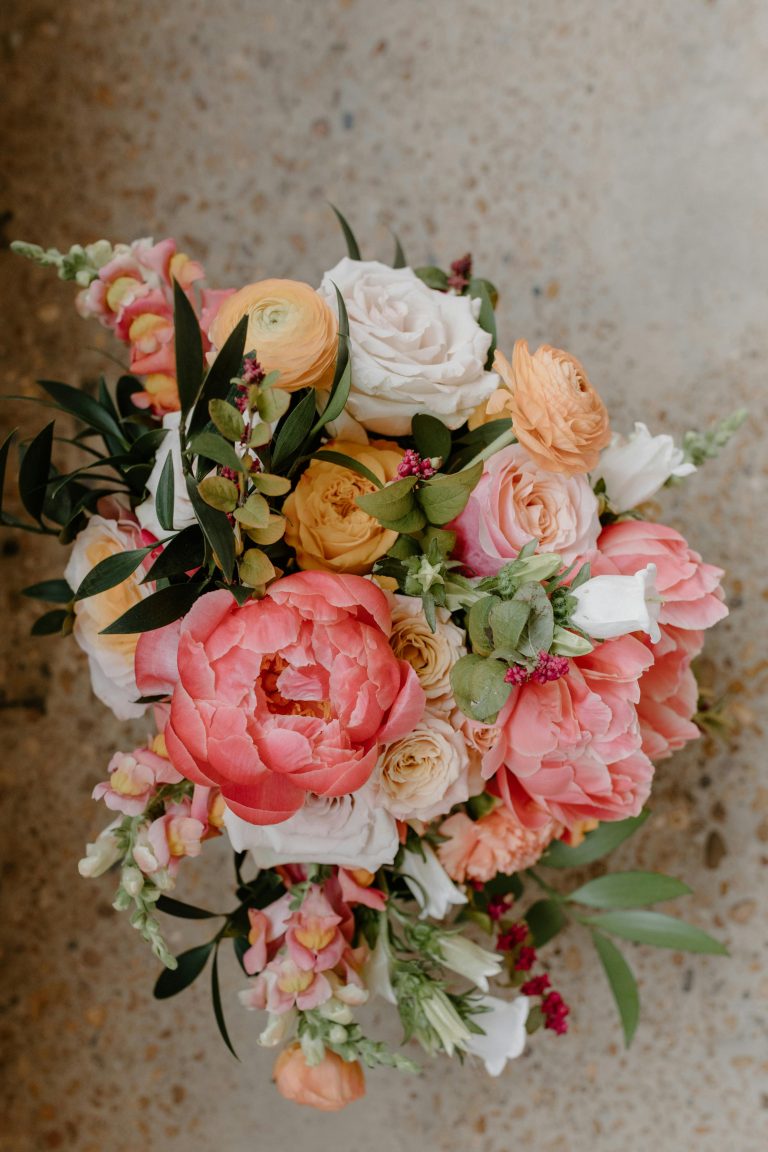
What’s a wedding without a flower or two (or 100)? Here’s how to stay in the green when it comes to your floral arrangements.

Have you been tasked with arranging the all-important bachelorette party? Before you break out in hives because of the sheer immensity of the situation, read our Hen Commandments. This dos and don’ts list will ensure you throw a party that will leave the bride glowing with happiness – not fuming with anger.
Set a day way in advance and give everyone enough time to arrange their lives, plan and be there (with bells on) for the bride.
And not what you want… If the bride is a Champagne and strawberries kind of lady, don’t arrange a craft-beer tasting and hot-dog day. Or if she loves to chug back the brew, don’t get everyone together for a high tea. Be creative about your theme and activities, and make sure they reflect the bride’s personality.
It might be a lot of fun to dress the bride up like Borat and make her dance at a traffic light, but the whole reason for the hen party is for her to stop fretting about the wedding for a second and have a blast. You don’t want her dying of embarrassment and wishing she was folding 700 paper frogs with Aunt Margaret instead.
It’s not a bachelorette bash without some strippers! Ever heard that gem? It’s rubbish, ladies. It can leave some conservative brides in tears. Find other ways to spend the money, unless your bride has specifically requested one (or three).
Nobody wants to feel pressured to spend more than they can afford on a night out or a weekend away. Before you make the plans, get an idea of what everyone is willing to spend on the party, and then set a budget.
You can keep everything else a surprise, but not the guest list. If you leave out someone important, the bride will have to deal with the consequences.
Yes, you might be the maid of honour and the bride’s BFF, but that’s not to say no one else can get involved in the planning. Be open to ideas and offers of help, and delegate where possible.
Being the person in charge can be stressful, but if you’re not enjoying yourself, neither will anyone else. Relax and let the party come together.
If you’re hitting the town and painting it red, organise Ubers or a shuttle for everyone. You don’t need any drama close to the wedding.
Ban phones and any posting to Facebook or Instagram on the night, and keep any dodgy photos to yourself. Waking up with a hangover is one thing. Waking up with a hangover and your night blasted all over the ’Gram is another…
ALSO SEE: Relaxing bachelorette party ideas for the chilled bride
Written by Claire Davies for Wedding Etc Summer 2019.
Feature image: Pexels
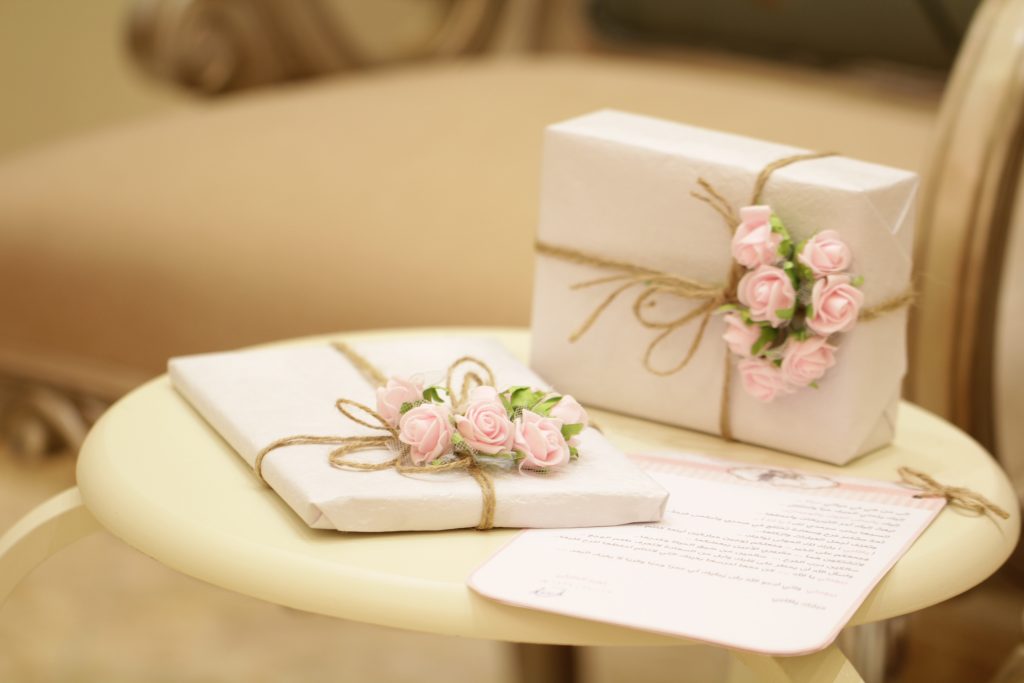
What do you get a couple that has everything? You may not get lucky and receive an invitation with a wedding gift registry or a request for monetary presents. If that is the case, here’s how to pick a great wedding gift:

The digital age is upon us. Hard print copy is slowly leaving our fingertips as we migrate online. Most people have access to the internet and a variety of digital devices. As lovely as physical wedding invites are it may be a great idea to consider a digital approach. To help you along we have put together a few notes on how to achieve a successful site. Here are a few nifty tips to consider when starting your own wed-site.
1. Know your limits
If you’re not great with computers don’t opt for a website where you have to create everything from scratch. Rather go with platforms that provide existing templates. You can still customise it and make it look great! Make sure to choose a website that will showcase what you want and make you happy. Look around and decide after viewing a few options.
2. Don’t forget the basics
It’s so much fun choosing various designs and pictures so try to remember the basics. Be informative and ensure your wed-site goes beyond just aesthetics. Remember to include the what, where, when, who and how. Provide your guests with the 411 on dress code, the program, accommodation, location, registry, and local attractions if you are planning a destination wedding.
3. Representation
Be sure to create a wed-site that is a great reflection of you as a couple and of your wedding theme. Personalize the display to give guests a sneak peek of your big day – stick to a specific font, incorporate your colour scheme, or include a small photo timeline. To add extra flair, something to consider is creating a unique logo.
4. Boast yourselves
It’s your big day and you’re allowed to make things about yourselves. Tell your guests about your love story, how you met, funny anecdotes and how things led to this point. With that being said don’t write essays – keep things short and sweet.
5. Registries and hashtags
Hashtags are a great way to create an online photo album that all your guests can take part in. Perhaps the most beneficial feature of a hashtag is its ability to pull all of your wedding photos, from any source, into one place. Don’t forget to add your wedding registry link.
6. Protect your big day
Be sure to use a password for your wed-site. You don’t need any wedding crashers. Any special invite-only events shouldn’t be mentioned on the wed-site like rehearsal dinner and bachelor parties.
7. Consideration
As mentioned before, digital is taking over but consider the fact that elderly people may not keep up with the times. If your elderly guests still sit waiting for the postman, try creating a special physical copy just for them. Also, consider having a FAQ section. Things may not always be clear and that’ll help a lot.
Don’t think of a bland email that just consists of details and lack of creativity and representation of your love. Creating a wedding website or wed-site can be fun and exciting.
You’re able to put your own twist on things and can play it up or down as much as you’d like. You don’t have to be tech-savvy as many websites offer existing templates that you can customise. With just one click, your guests can check out all the details and be informed of any changes.
ALSO SEE: How to decide who gets an invite to your wedding
Image: Pixabay
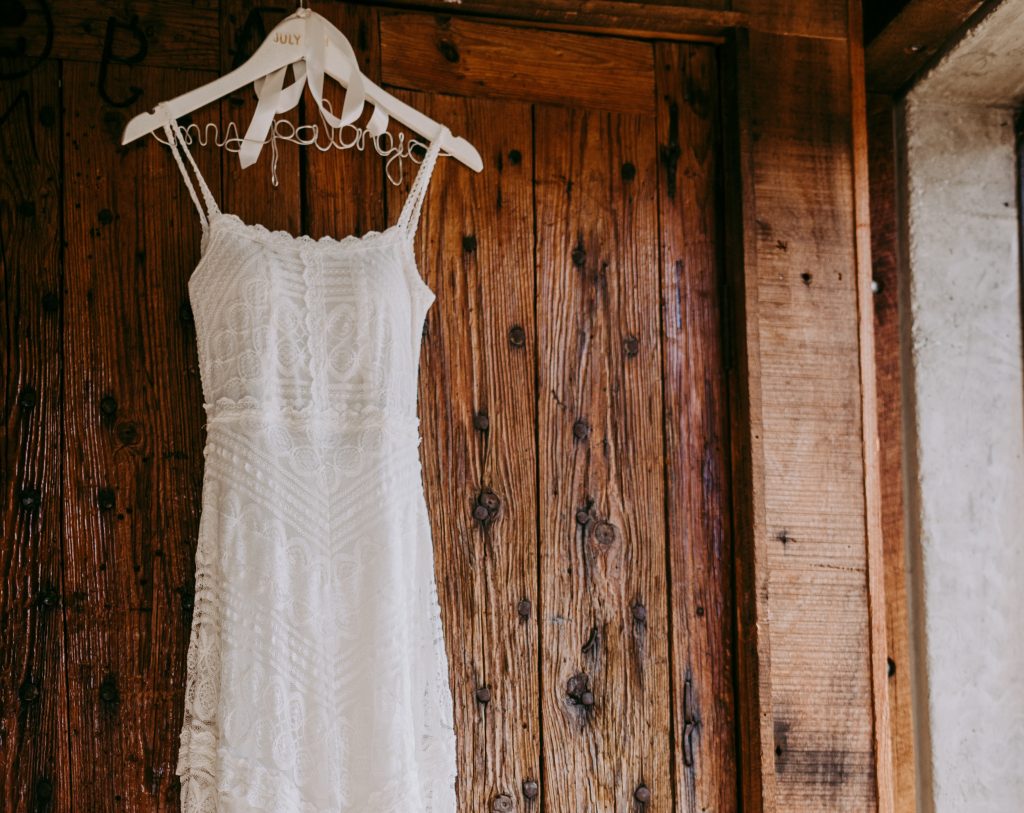
Wedding dresses are a huge part of the big day. So much effort and money goes into the wedding gown to ensure that the blushing bride looks her best. After making your way down the aisle and turning heads, what can you do with your gown? Get creative with your wedding dress after the big day.

Technology is undoubtedly a massive part of our lives in this day and age. Our phones are practically extensions of our arms and we can’t go without checking in to our social media once a day. Most of our memories are made by captured moments on our digital devices and not by living in those moments. This can frustrate people who would rather be doing the latter, especially when it comes to significant occasions such as weddings.
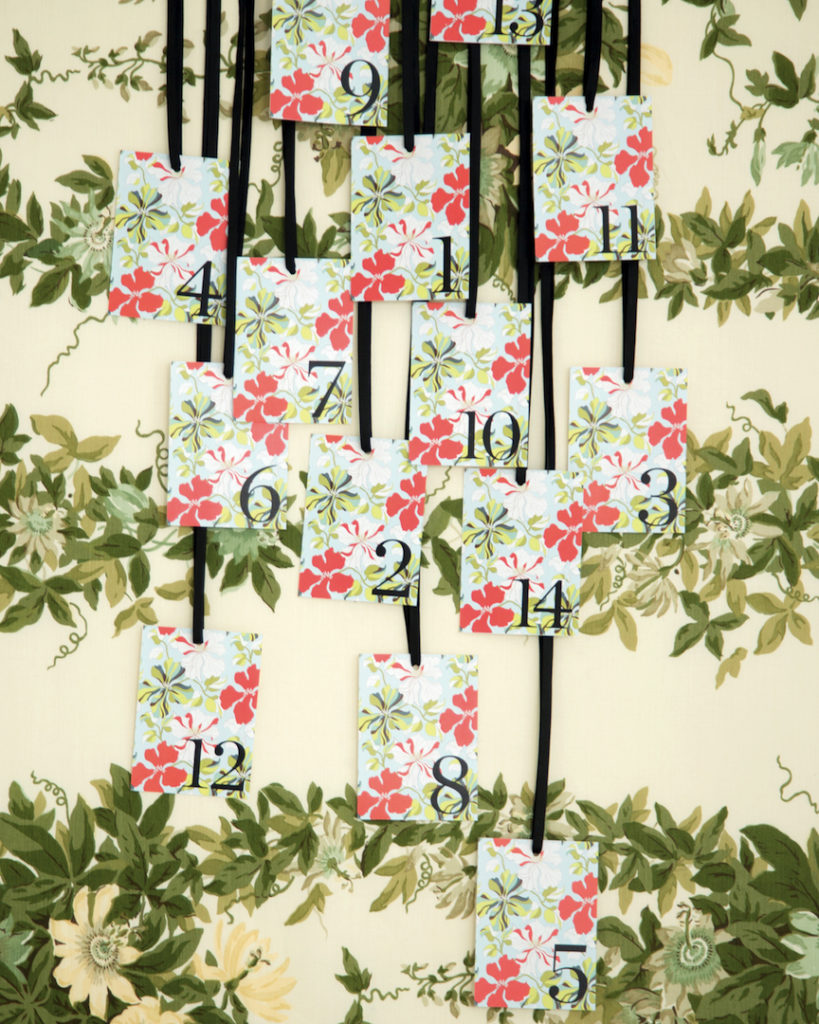
Enchant your guests with a floral seating chart that’s in full bloom! Just be sure to let your stationer know your plan, so that they can create the design accordingly.