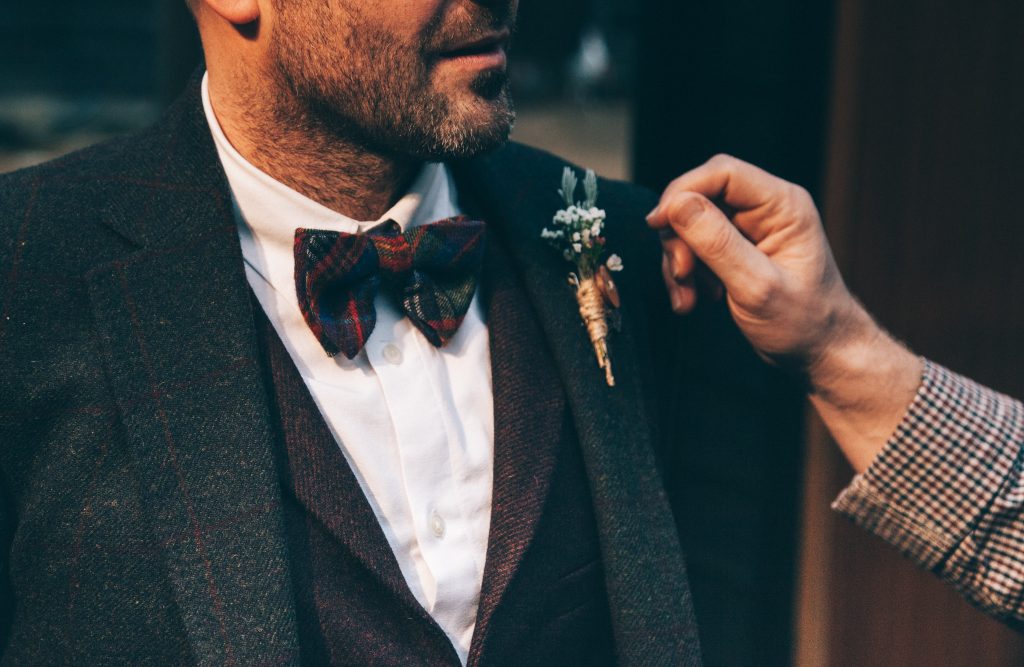
Bow ties are a classic option that will add the finishing touch to your wedding day outfit. As dashing as they are, the sophisticated embellishment is a bit tricky to pull off. If you’re unsure and want to pull off the tasteful look yourself, here’s how to tie a bow tie on your wedding day, or any other day you want to look extra dapper:
View this post on Instagram
Step by step
Choose a great bow tie
Black is a classic colour to choose but if your wedding vibe allows for it, consider opting for a funky colour, pattern or material.
Sizing
To ensure you get that dashing and sophisticated look, adjust the bow tie according to your neck size. Ask a sales assistant to measure your neck when purchasing a bow tie. There should be an adjustable slider or a hook and holes that will allow you to make the bow tie bigger or smaller.
View this post on Instagram
How to tie
The most popular choice is the butterfly bow tie.
First place your bow tie around your neck facing up. Make sure that the right side is shorter than the left. Your left end is A and the right end is B.
Move A over to the right. It will be across from B. It should form an X shape.
Move A under B and bring it up through the neck loop.
You can now fold B towards the right and finally to the left, which will then create the bow shape.
The A side can now move straight down over the middle section (the bow shape)
A can be folded towards the chest.
Pinch the fold.
You need to push A through the loop behind B.
Finally, pull on the folded parts which will tighten it. Adjust the bow tie to be balanced on both sides.
Feature image: Unsplash


