Congratulations, you’re engaged! Traditionally, the first step in wedding festivities is to throw an engagement party celebrating your upcoming nuptials with your nearest and dearest. Here are some key steps to planning your perfect engagement party.
Choose the hostess with the most-est:
While tradition states that the bride’s parents typically throw the engagement party, it is not a hard and fast rule. Today, anyone can host the party, whether it be a family member, close friend or even joint hosts. Just remember that the host will be the main funder of the party, so they have to be prepared to pay.
Pick a date:
Next step is to find the right date. However, this is not an easy feat. Think about the scale of the party and how long it will take to plan things before setting a date. If you are going for a big, extravagant party then allot more time to plan. Engagement parties typically occur soon after the engagement but can still be held months after the fact.
You will also need to take into consideration the schedules of your guests. For example, if family members out of town will have to travel long distances to attend, ideally don’t host the party during the week.
Plan your guest list:
This is an important step. Remember that the people you invite to your engagement party will also have to be invited to your wedding. As such, this guest list is a preliminary list for your big day. If you’re not sure how big your wedding will be, allow your engagement to be more intimate so that you don’t invite too many people and create an expectation.
Set up a budget:
Party planning can quickly get expensive if you don’t have a financial guideline in place. Set up a budget in which you allocate certain amounts of money for the venue, food and drinks, invites and other party planning necessities. This makes every following step much easier as you narrow your options to fit financial means. Remember to leave a margin for extra expenses too!
Location, location, location:
Now that you know how big your guest list is, you can choose a venue that will accompany everyone. The venue will speak to the type of party you want. For example, having a party in your parents’ back yard will give an intimate feel, whereas a grand ballroom will give a more luxe feel. This way, you can create a vision of the type of decor you want too.
Send invites:
With date and location secured, you can now send out invites. Make sure you send these out with enough time to arrive and give your guests time to plan. At least 3 weeks before the party is ideal. Luckily, your type of venue also helps to determine the style of invitation, making the design element much easier. Make sure to let your guests know the dress-code to avoid outfit disasters.
Set up a menu:
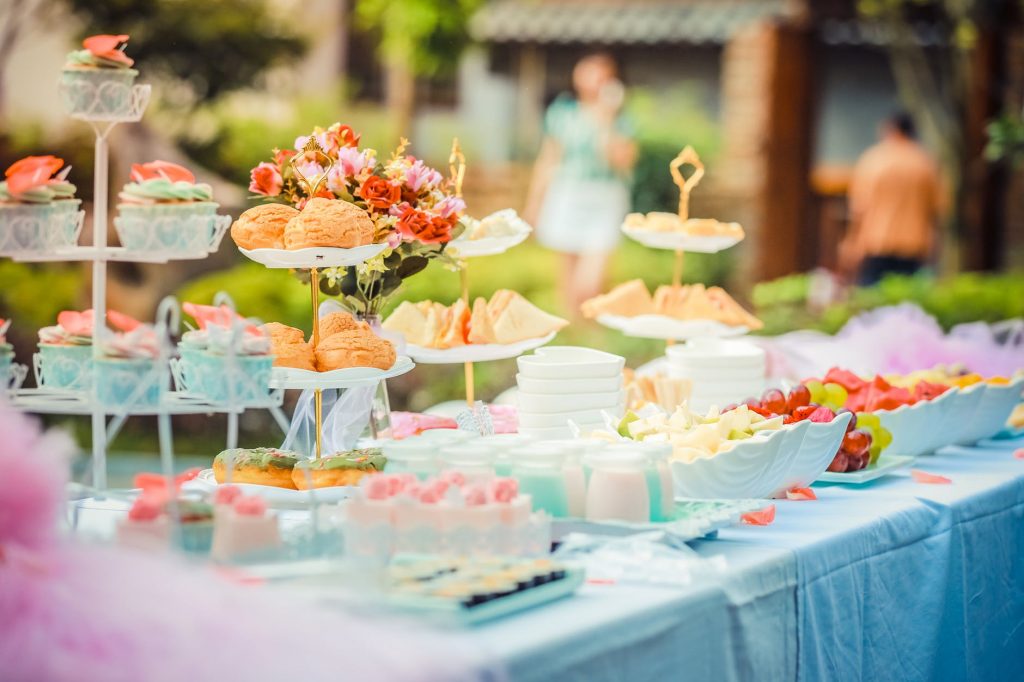
Now that you know the venue, your menu can perfectly correspond. For example, if it’s a cocktail event, finger foods work best. A family-style menu works best for intimate gatherings. Don’t forget to include drinks in this! Your menu should work for you, your budget and the style of party you’re aiming for.
Plan your decor:
At this point, you should already have an idea of the type of decor you want. Now is the time to do your research and purchase things that will bring your vision to life. Simply adding mini-candles and fairy lights can add a whimsical yet romantic feel. Use fabric to bring in colour schemes, and flowers to soften the space.
Gift registry:
While not expected, some guests may want to gift you and your partner at your engagement party. To prep for this, you can set up a gift registry. Remember to focus on low- to medium-priced gifts, as people will most likely spend more on a wedding gift. You can also ask guests to donate to a chosen charity in lieu of gifts.
Dress to impress:
As the first taste of wedding festivities, it is typical, though not required, that engaged pairs wear white to their engagement party. Regardless of colour, make sure that your outfit works well for the venue and style of party you are throwing. For example, a casual sundress won’t work for a formal event, and a beaded gown might be a bit too dressed up for a poolside celebration.
Enjoy!
You’ve made it! Now is the time to revel in your excitement and celebrate your future with your loved ones.
Image: Pixabay


