The national lockdown has truly forced us all to readjust to a new way of life for the time being. All plans that were made previously are on hold or cancelled and other plans are having to be rethought. While all of this happens, time still ticks on.
If your anniversary is one of the events coming up during quarantine, you should probably think of a way to celebrate it indoors! There’s no need to worry if you made plans that require leaving home, an at-home anniversary can easily be planned too.
Here are some ideas:
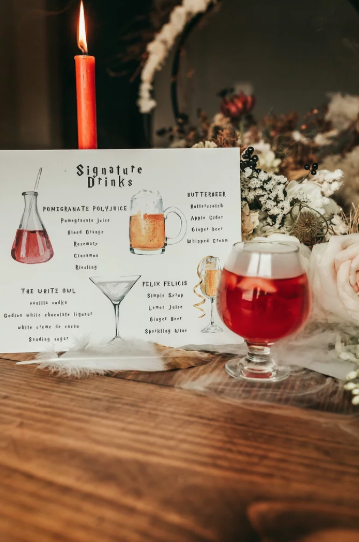
Recreate a special meal together
Perhaps you had a fancy meal on your first date, or you’re still dreaming of the delicious meal served at your wedding reception. You could take to the kitchen and try to recreate these meals together. We all know cooking together can be tremendously romantic… and the eating part is great too. After you cook the meal, indulge in the delicious food by candle light.
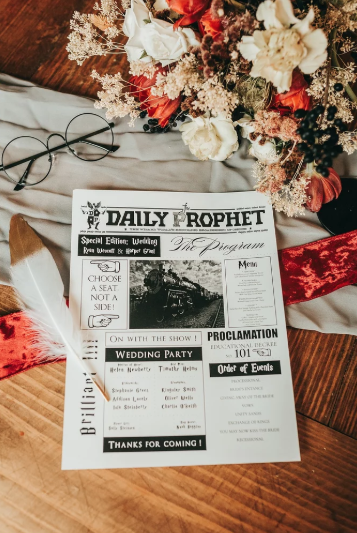
Wedding reminiscing
Pull out your wedding album and video and spend some time remembering the special day. It’ll bring back many amazing memories and will show you how far you’ve come. Tell each other stories about your individual experiences of the wedding day, about how you were feeling, who you interacted with, and anything else you can recall. You’re sure to have some funny and interesting tales to tell.
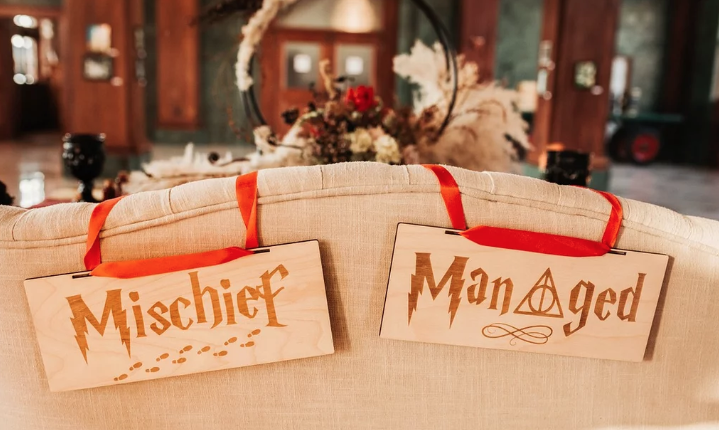
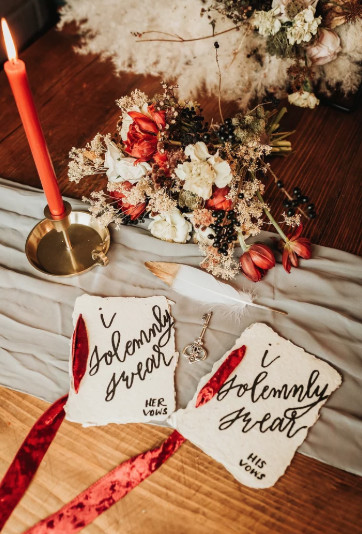
Symbolic vow renewal
Plan to have a vow renewal ceremony for just the two of you. Write new vows, decorate the room, and go all out. It’ll be quite intimate and special, definitely something you’ll never forget.
Learn to dance
Search YouTube for some couples dance tutorials and try to learn a new dance together. Salsa is a great option!
How I met your mother
If you have kids and you want them to be involved too then this one’s for you. Draw up a quiz about your relationship with questions like “how did mom and dad meet?” or “how old were we when we got married?” and have your kids participate in a competitive quiz night. It’s a great way to celebrate your anniversary and it’ll be an evening filled with laughs too.
Image: Unsplash


 wedding jewellery")