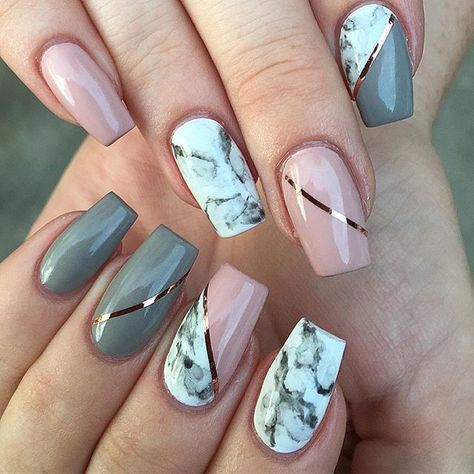
This summer’s nail trends are keeping it simple and feminine with pastels, glitter, nudes and a few bold details. Incorporate one of these 5 gorgeous summer nail trends for a glamorous feel on your big day.
1. NUDES
Simple, neutral and oh-so-sophisticated, nude shades bring a subtle elegance to your look. Pair with shimmery jewellery and bold make-up for added flair.
2. METALLICS
Make a shining statement with tinted metallic shades to suit your wedding theme.
3. MARBLE
The marbled effect will give your bridal look an elegant and modern touch, one that you’ll definitely want to try again.
4. PASTEL
Soft pastel shades matched with delicate details will always be a winner for a bride. Pinks, blues and lilacs make lovely summer options.
5. RED
Make classic bright red your colour for the day, and have your nails shaped into a bold and daring style for an extra sultry statement.
Images: Pinterest
Sun? Check! Sand? Check! Sexy selfies? Check! When it comes to a beach holiday, Durban ticks all the boxes – year-round! And the stunning four-star Belaire Suites Hotel…
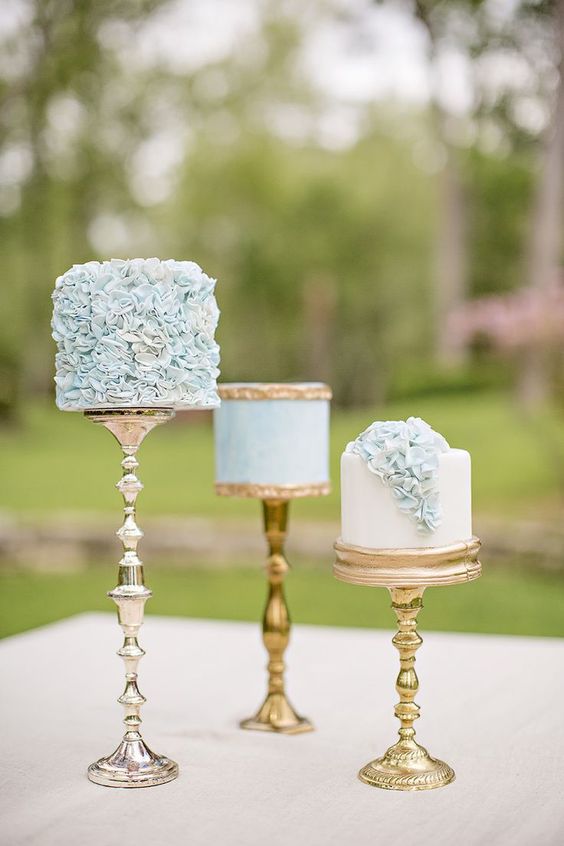
From simple design to styles with flair, this season sees wedding cake trends that flaunt colour, details and texture perfect for a summer wedding.
1. RUFFLED
Trends from the fashion world are making their way to the foodie scene, with ruffles giving cakes a lovely textured look that is unique. This look already creates a light and fluffy style that is simple and elegant and doesn’t need much more decorating.
2. A TRIO OF CAKES
Following Prince Harry and Megan Markle’s wedding, couples are taking inspiration from their magnificent cake which sat in a trio instead of the usual tiered layer. This creates a slightly more casual look, but also allows for more variation. You can have three different styles and flavours!
3. NAKED
The naked cake trend continues to be a popular option for couples who want a more rustic theme for their big day. You can be playful with fillings and flavours and top it with fresh summer fruit to inject a bit of freshness
4. A TOUCH OF ART
Adding an artistic touch to your decor, theme and food is a big trend this year, and what better way to show your love for art than with a hand-painted wedding cake? With a simple tiered cake as your canvas and a few added details, you can have any kind of design to fit your style.
5. PUT A NAME ON IT
Another trend derived from a royal wedding is the newlywed’s initials placed on to the cake. Princess Eugenie and Jack Brooksbank had their initials monogrammed around the bottom tier of their cake, which has led couples to bring back this sentimental trend.
Images: Pinterest
Surrounded by their nearest and dearest, Ané Bartleman and Marius Eksteen celebrated their special day on a sprawling estate in the Hemel-en-Aarde Valley. THE VENUE We scoured the…
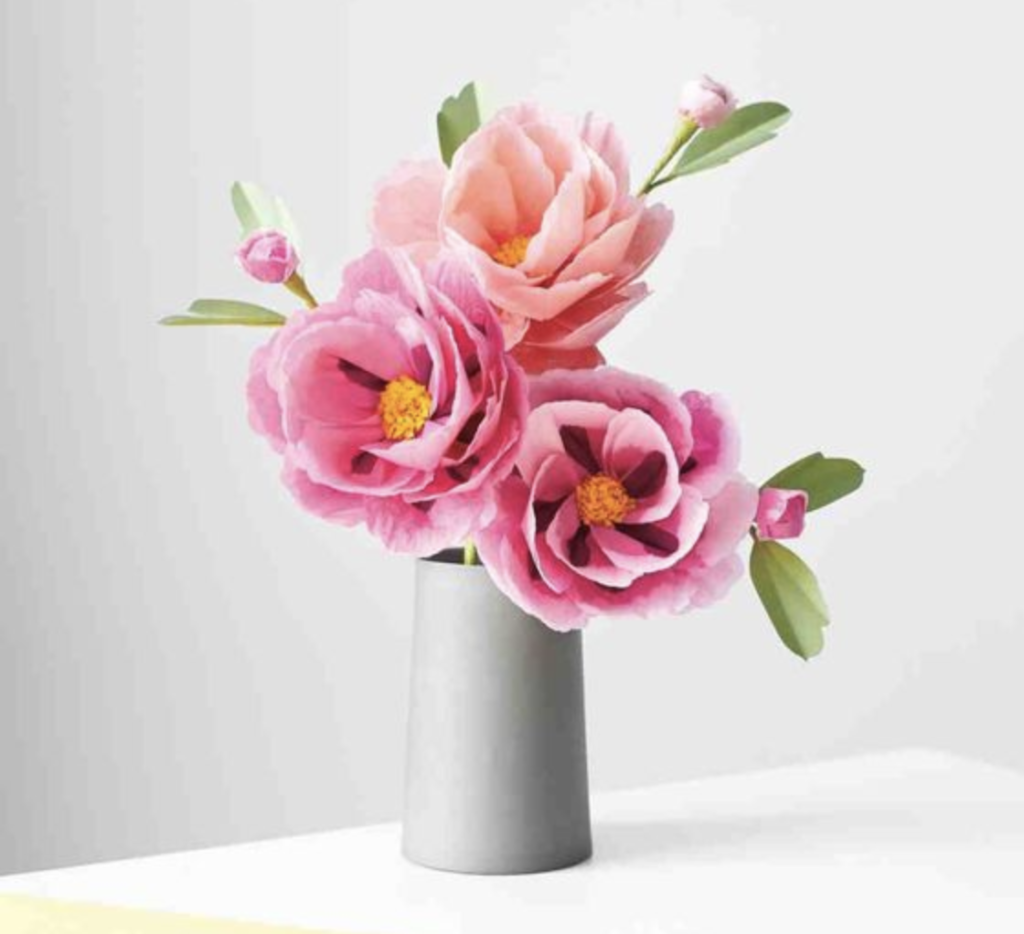
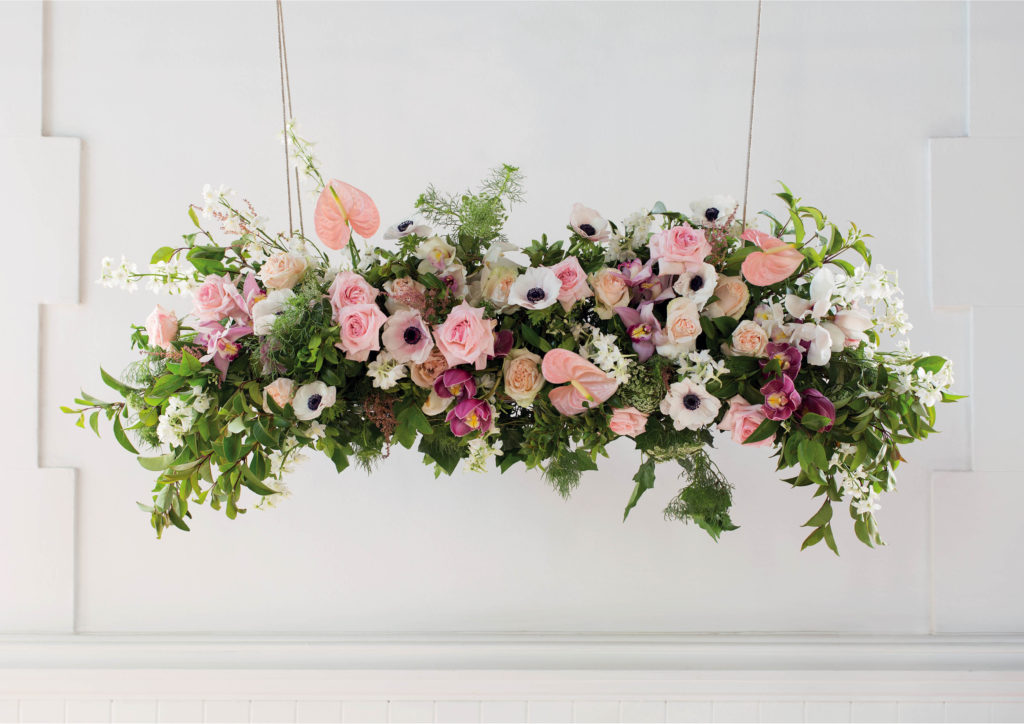
If you’re someone who doesn’t like to play by the rules, then DIY paper flowers will be ideal for you. You also won’t have to worry about wilting, watering or the fear of a guest knocking over an arrangement, not to mention the amount of money you’ll save!
1. Crepe paper bouquet
2. Paper flower initial
3. Tissue paper centrepiece
4. Paper flower backdrop
5. Paper flower crown
Images: Pinterest
Whether you’re opting for a low-key affair or a lavish celebration, a wedding is going to be costly – but who pays for the wedding? WHAT TRADITION SAYS 1.…
Having your wedding day accompanied by your absolute besties as your bridesmaids, all matching and looking gorgeous, is an absolute dream. However, this can be quite a challenging task.
Your bridesmaids may not like your choice of dress, style, colour or overall idea towards what they will wear on the day, and if you’re someone who wants everyone to be happy and satisfied, this can cause serious complications and even some drama.
With an open mind and these simple tips, finding the perfect bridesmaids dresses that everyone will love will be much easier.
1. CUT OUT SAME-STYLE DRESSES
Unless your bridesmaids all look identical, the same style of dress will fit each woman differently, and may not be suitable or flattering for every body type. This is where styles like the infinity dress come in, where one dress with the same material and colour can be worn in multiple ways to suit each woman’s body. Try to be more open with finding different styles for each bridesmaid.
2. MAKE COLOUR THE COMMON THEME
If you’ve decided that your bridesmaids can wear different style dresses, make sure they stick to a very specific colour palette that suits you and your wedding theme. Even though the dresses may not be identical, your bridesmaids will still appear co-ordinated and will be comfortable in their favoured style of dress.
3. SET A GUIDELINE
Apart from simply having a common colour scheme, ensure that your bridesmaids know the boundaries of what you want for their appearance on the day. Try to use your wedding dress at a starting point, and model the bridesmaids dresses after it. Decide whether you want classy or glamorous, short or long dresses, what season you are getting married in, and how conservative they will need to be.
4. STAY IN TOUCH
Stay up to date with your bridesmaids’ dress-hunting, and, if you can, try to go with them to be a part of the decision process. Staying in contact will also show your interest and concern for your bridesmaids, as it is an important day for them too. Make a WhatsApp group and regularly ask for images. This may become frustrating, but it will be worth it to ensure that you are part of the decision-making process.
5. REMEMBER, YOU ARE THE BRIDE
Above everything else, remember that you are the bride and it is your special day. If you cannot come to an agreement with one of your bridesmaids and it is causing you more stress, it is not selfish to cut someone out. At the end of the day, it comes down to what you and your partner have decided for the wedding.
Image: Unsplash


