
Lighting is very important, after all, it enables us to see. Besides seeing, lighting can create a special mood, a warm ambiance and a wonderfully romantic atmosphere. As part of your decor, it can really make a beautiful statement. Here are some creative ways to light up your big day:
Light up your ceiling
Transform your plain ceiling into a heavenly lit statement.
View this post on Instagram
This lighting effect makes for great pictures!
View this post on Instagram
Candles
It’s time to take it back to basics. Candles are a lovely way to create that perfect romantic setting.
View this post on Instagram
Light ‘tents’
Create your space completely from lights.
View this post on Instagram
So simple, yet utterly exquisite.
View this post on Instagram
Chandelier
This classic option will really give your wedding an elegant feel.
View this post on Instagram
Choose to go as simple or detailed as you like!
View this post on Instagram
Fairy lights
Transform your space into a magical illuminated wonderland.
View this post on Instagram
Just look at that backdrop!
View this post on Instagram
Lanterns
Whether you opt for glass or paper, lanterns are a magnificent way to ignite your big day.
View this post on Instagram
View this post on Instagram
Exposed bulbs
Make an aesthetic statement with exposed bulbs.
View this post on Instagram
View this post on Instagram
Feature image: Unsplash
So you receive a wedding invitation that reads ‘formal’, but you don’t have a clue how to dress accordingly. You don’t want to be under or overdressed, so…

Table numbers are essential for weddings with assigned seating, so why not have some fun with them? These creative table number ideas will allow you to express your personality and add to the theme of your wedding.
Perspex
If you’ve been to a wedding lately or seen any wedding photos, surely you would have noticed that perspex is trending in a big way. Get some calligraphy done on a small sheet of perspex and you’ve got a beautiful table number.
Embroidery
If you or a friend has a knack for embroidery, put it to use and make some cute and personalised table numbers.
Picture frame
This one is pretty simple and similar to the perspex idea but it is very easy to DIY. Just take an empty photo frame and write the numbers on the glass.
Flag
Pair a pretty printed flag with a tabletop holder and you have a standalone table number that’s ready for any table.
Wine bottle
A clever and multi-functional table number – print a sticker with the table number and place it on a wine bottle to direct guests to their table and give them a glass of wine.
Book
Fold the pages of an old book to create a 3-dimensional table number.
Geode
Geodes are stunning on their own and make for brilliant table numbers with some writing on them.
Flower/Leaf
Spray paint a large flower or leaf in the colour of your choice, write the number on it and there you have it – an easy and cheap table number.
Feature image: African Bear Photography
Wedding photos are an important part of the big day. Capturing the moments are a way to remember the beautiful memories forever, especially when things become a bit…

After the big proposal comes all the planning. You and your partner will usually decide on who you’d like by your side on the big day, which will include friends and family. It is both an honour for them and a huge favour they’re doing for you, seeing as they’ll be helping you with most of the planning.
That said, it’s important to put a little effort into asking your wedding party to be a part of your day. Especially since weddings can be quite pricey. Choose something special instead of just sending a text or asking them nonchalantly. Here are some ideas:
Custom box
Put together a few items that mean a lot to you and your selected wedding party. You can customise the boxes to suit the theme of your wedding and what your loved ones would appreciate.
View this post on Instagram
Alcohol labels
Purchase a bottle of alcohol and customise the bottles with labels ‘proposing’ to your bridesmaids and groomsmen. Switch up the liquor depending on what your nearest and dearest like.
View this post on Instagram
Scratch off cards
These cool cards come with a special design and a solid filled section. Your wedding party will then scratch and win, or rather, receive their proposal.
View this post on Instagram
Custom card
It’s better than a text! You can also make it really cute and sentimental.
View this post on Instagram
For the guys…
Special flask
Your buddies will love a unique flask as a proposal, especially since it’s very practical.
View this post on Instagram
Special socks
Custom socks are great as gifts and you can have your groomsmen wear them on the big day. If they’re funky, they’ll make for great pictures.
View this post on Instagram
Cuff links
Cuff links will count as a ‘proposal’ and serve as a cool embellishment for the wedding.
View this post on Instagram
Cigars
Gift your guys with a memorable cigar. You can have a paper ring placed around each cigar with the ‘proposal’ message.
View this post on Instagram
For the girls…
Bracelets
There are great custom jewellery options that you can gift your bridesmaids. It’s a lovely option as it’s something practical that they can wear to the wedding as well as afterwards.
View this post on Instagram
Candles
Pick a wonderfully scented candle and turn it into a ‘proposal’ for your ladies.
View this post on Instagram
Custom Hanger
You can have special hangers made for your bridesmaids. This is quite cute and your besties can use them on the big day.
View this post on Instagram
Hair ties
This can be quite punny but also a practical gift, because we all know how easy it is to lose them!
View this post on Instagram
Feature image: Unsplash
This season, we say goodbye to boring, one-dimensional suits and welcome more creative pairings, with a hefty side of personality. Have a look at some of our favourite…

Getting the perfect dress at a reasonable price is not the easiest thing. Brides tend to spend thousands of rands on either having the perfect dress made or hiring it. If you’re running tight on budget or would just like to save on your overall look, the Wedding Etc style team found the perfect ‘I do’ look for just under R3000.
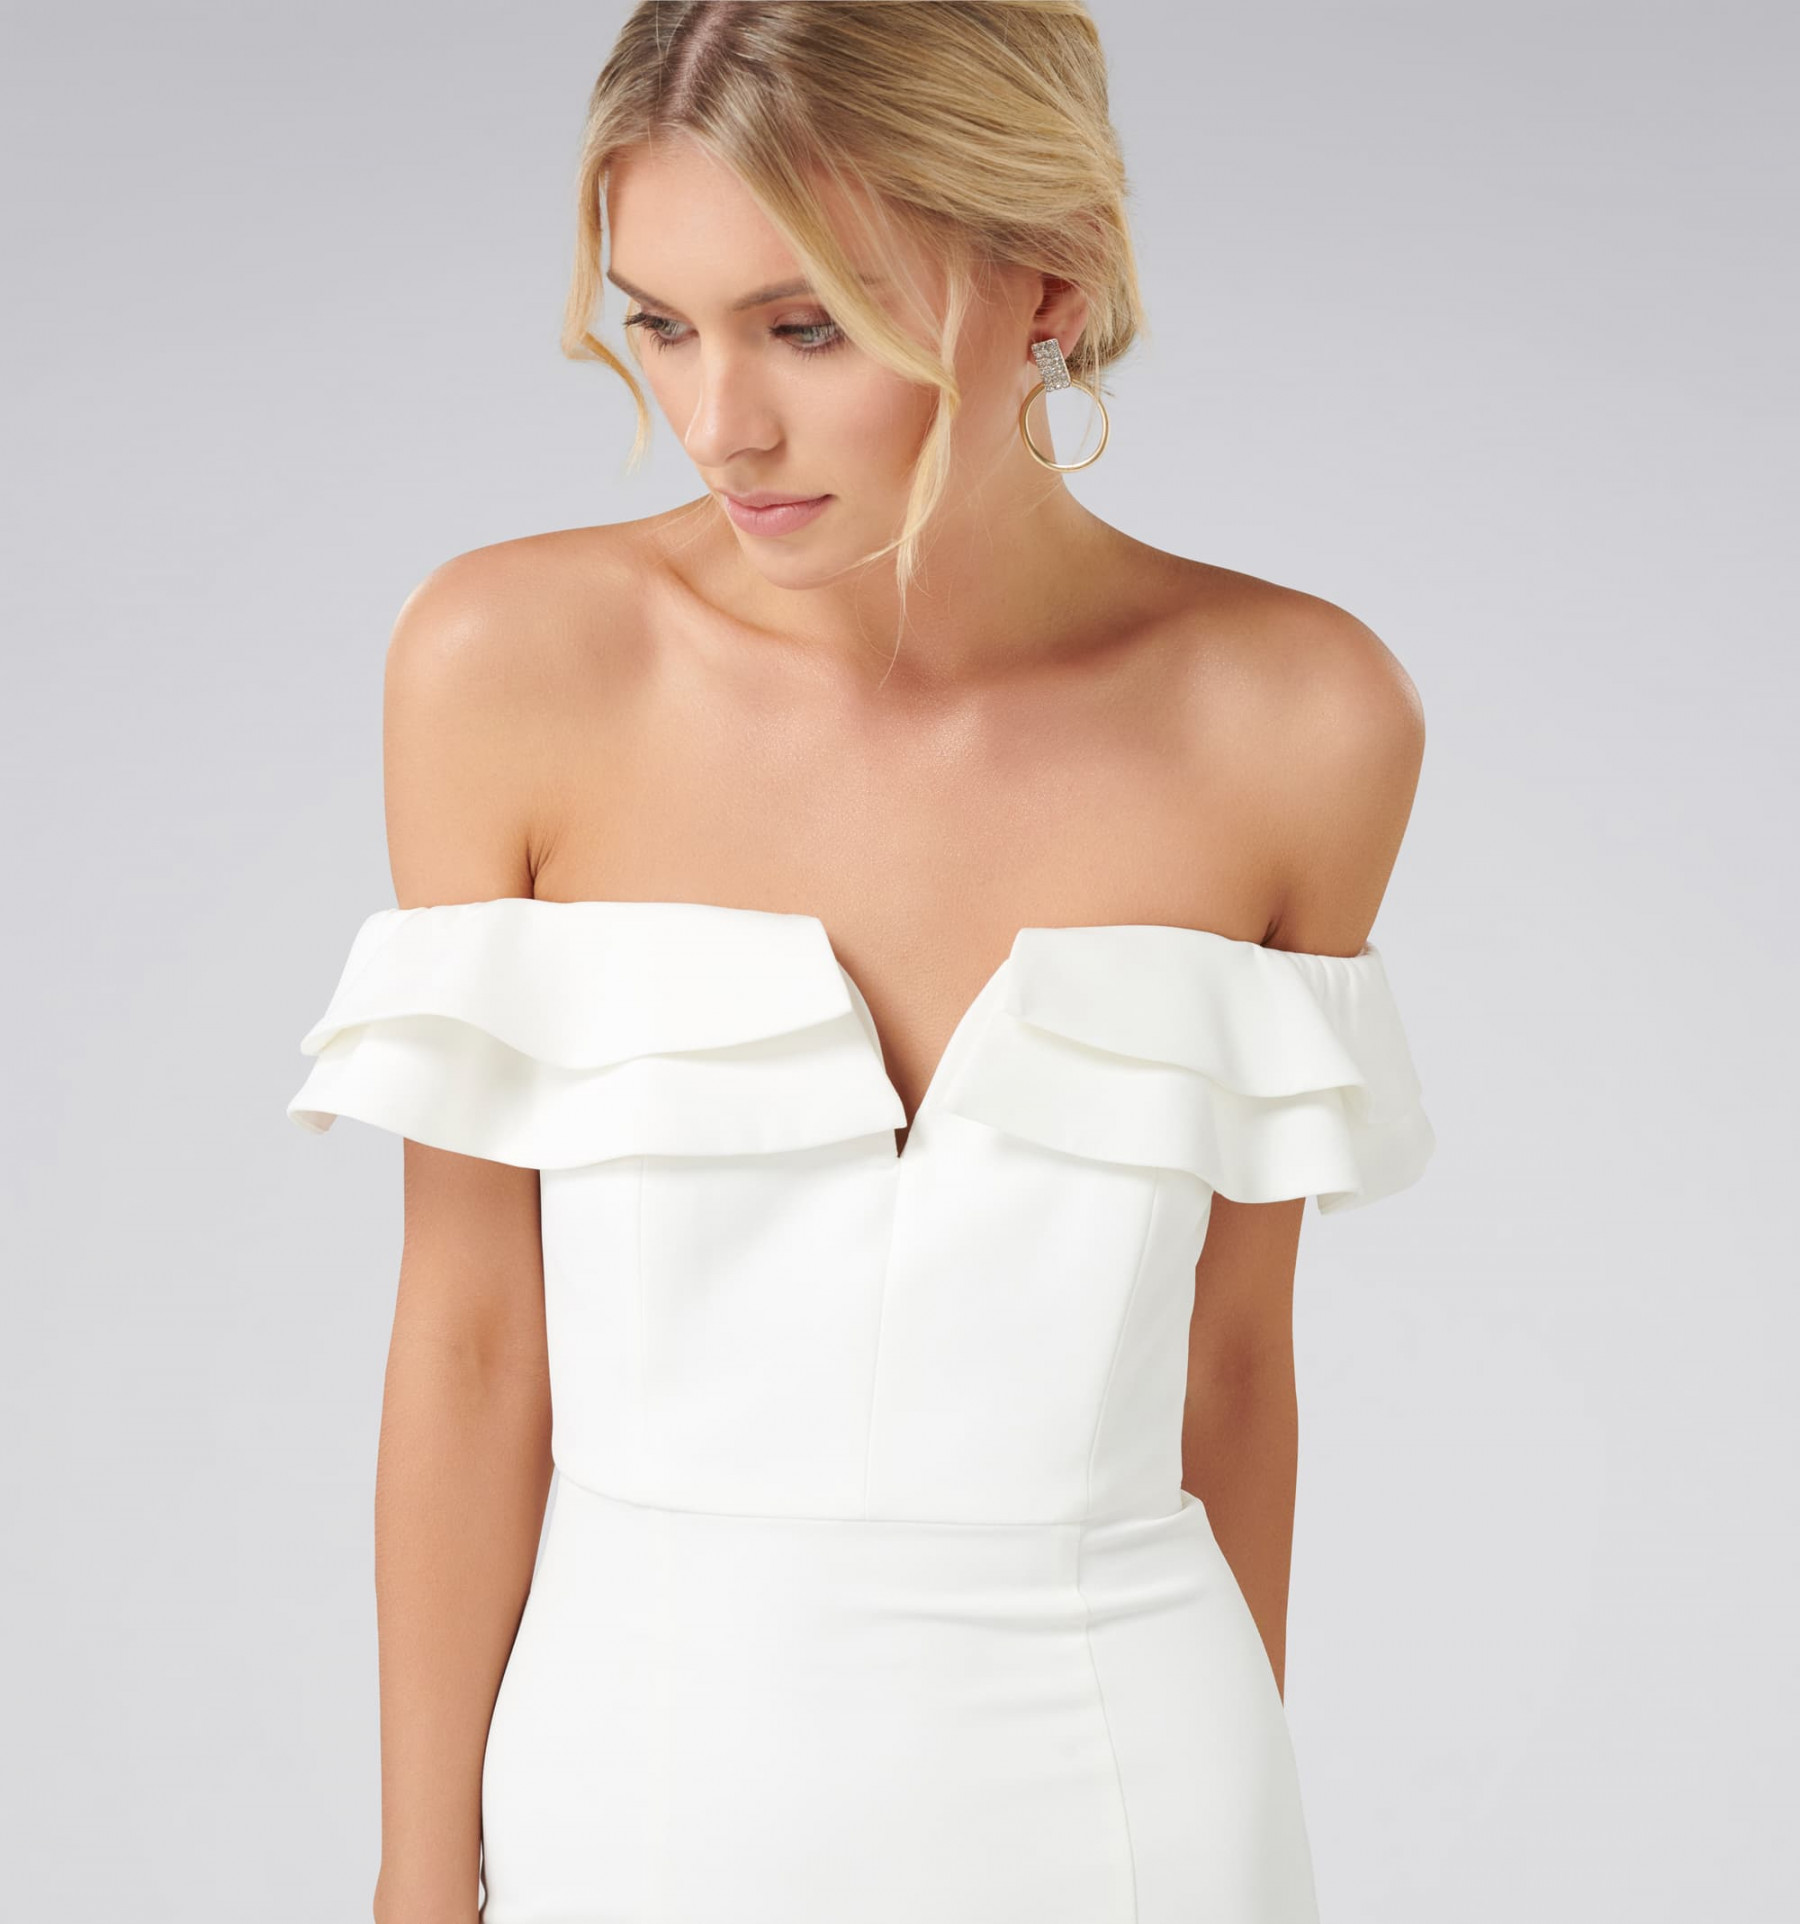
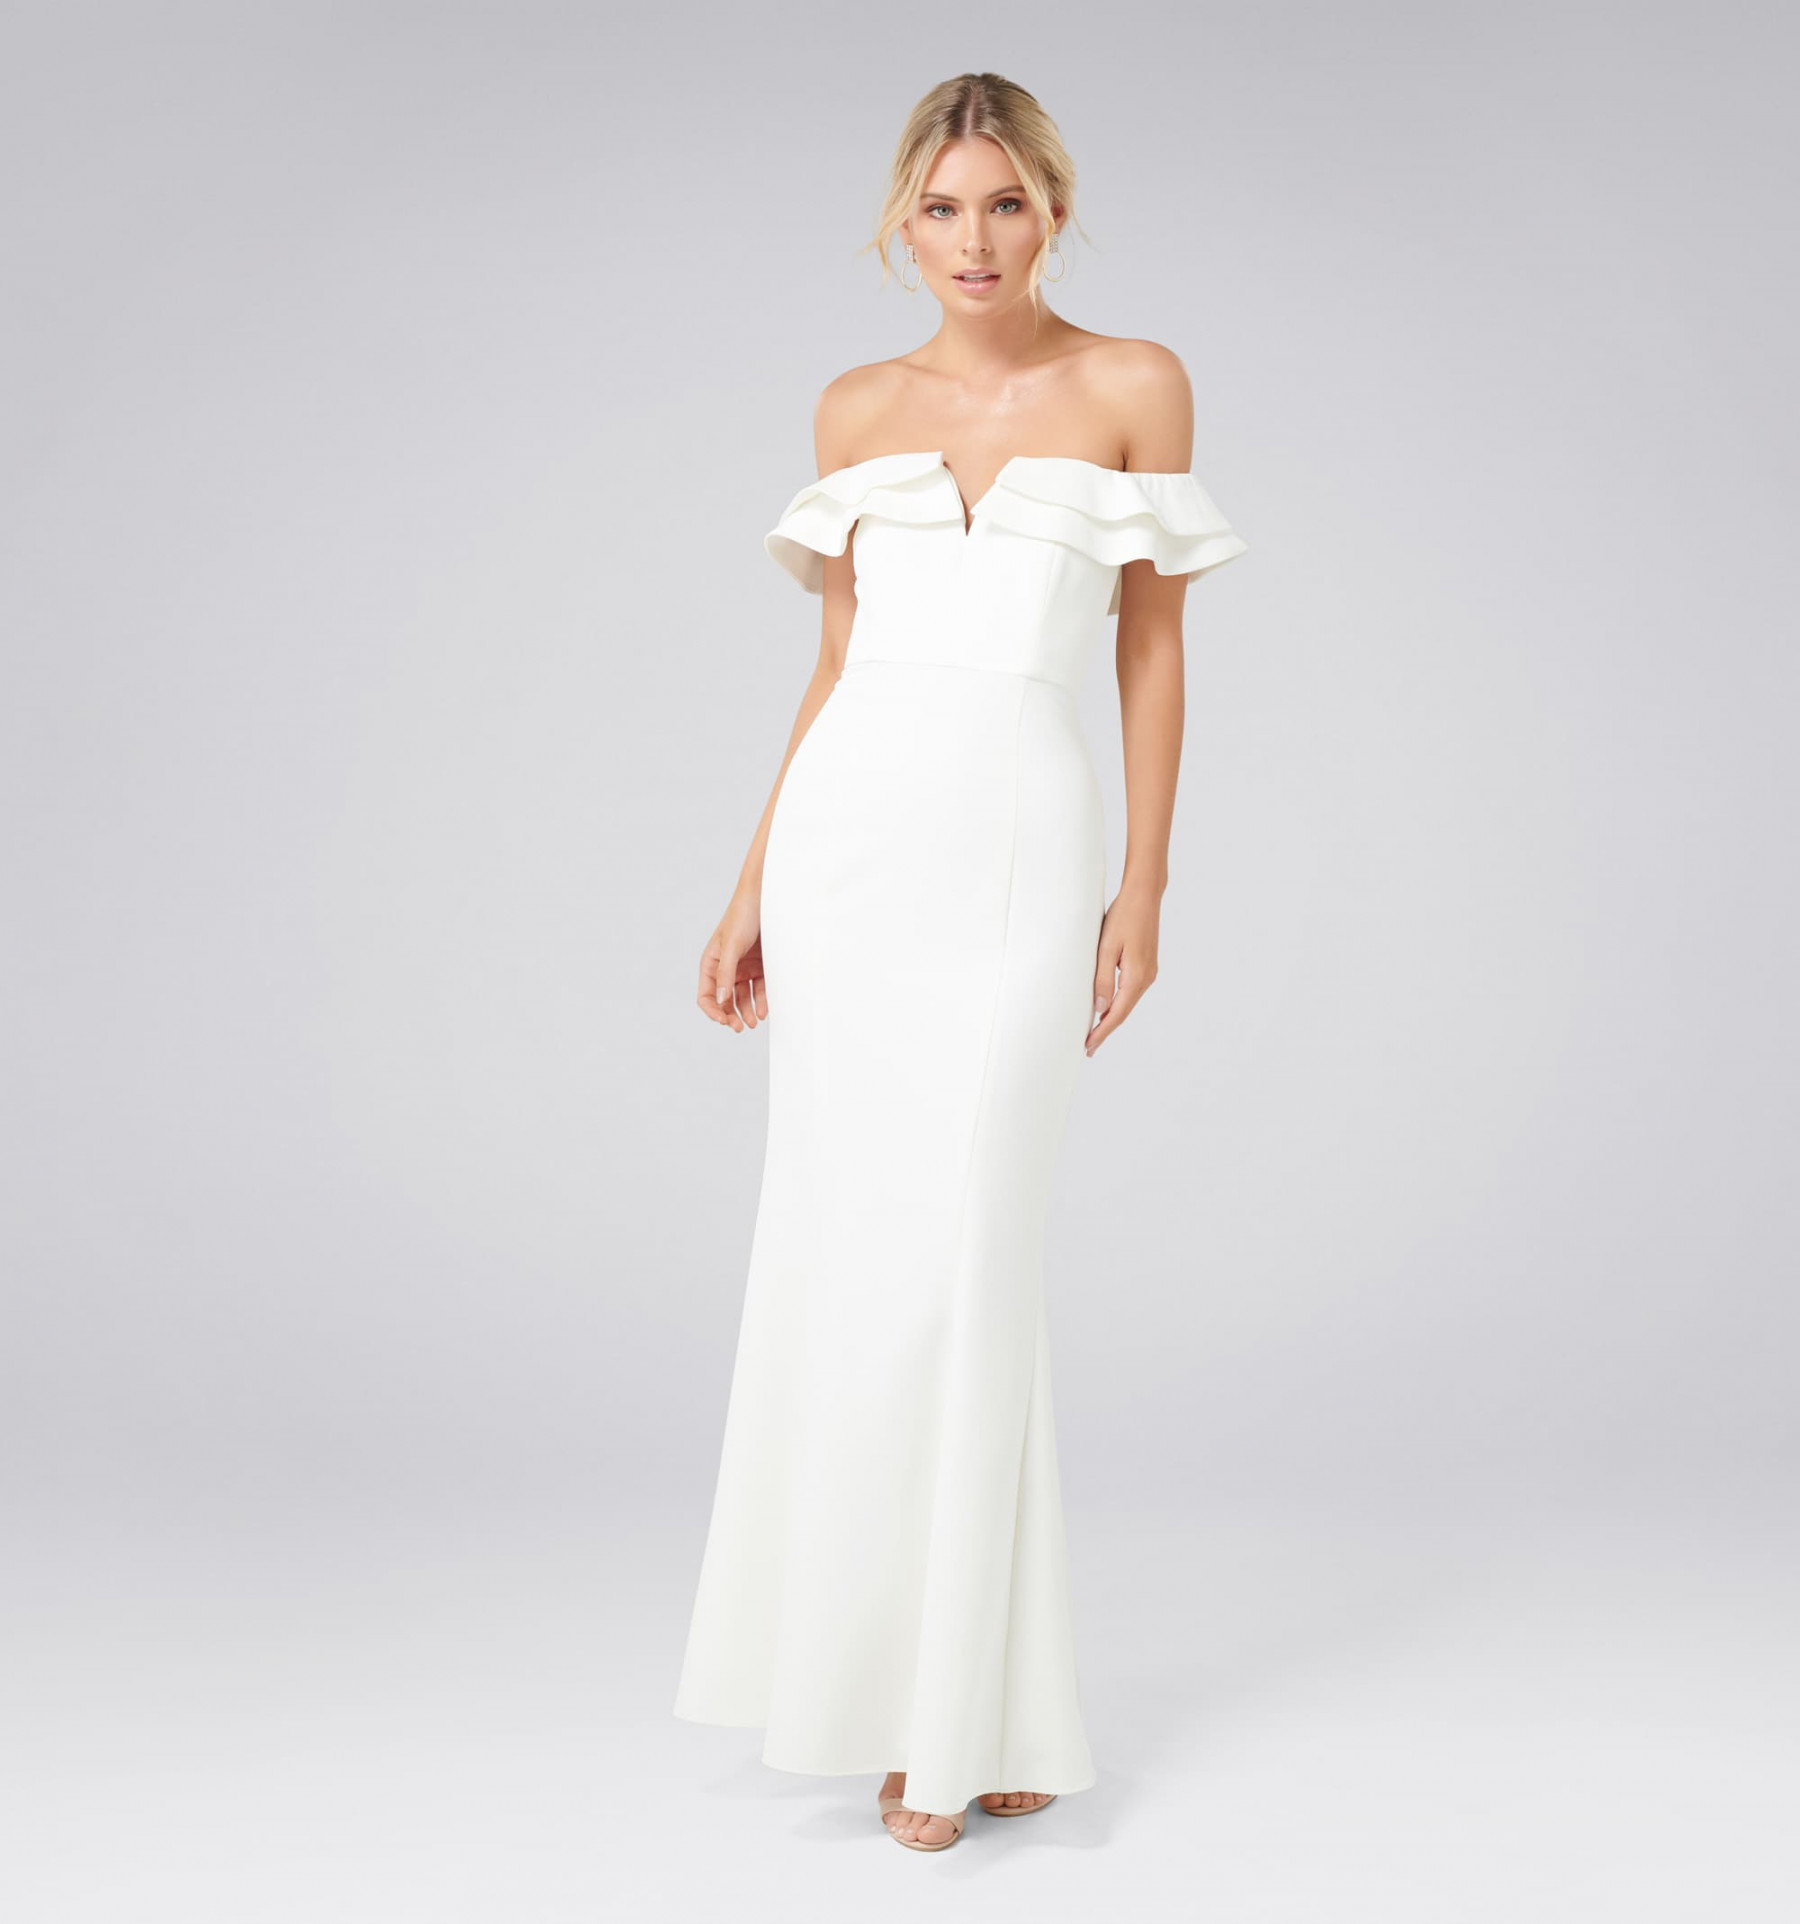
When choosing a store-bought dress, here are a couple of things to look out for:
– How the dress flatters your body type.
– The seam finishes and quality of the material.
– A style that you can also repurpose by wearing it to an evening out or any formal occasion.
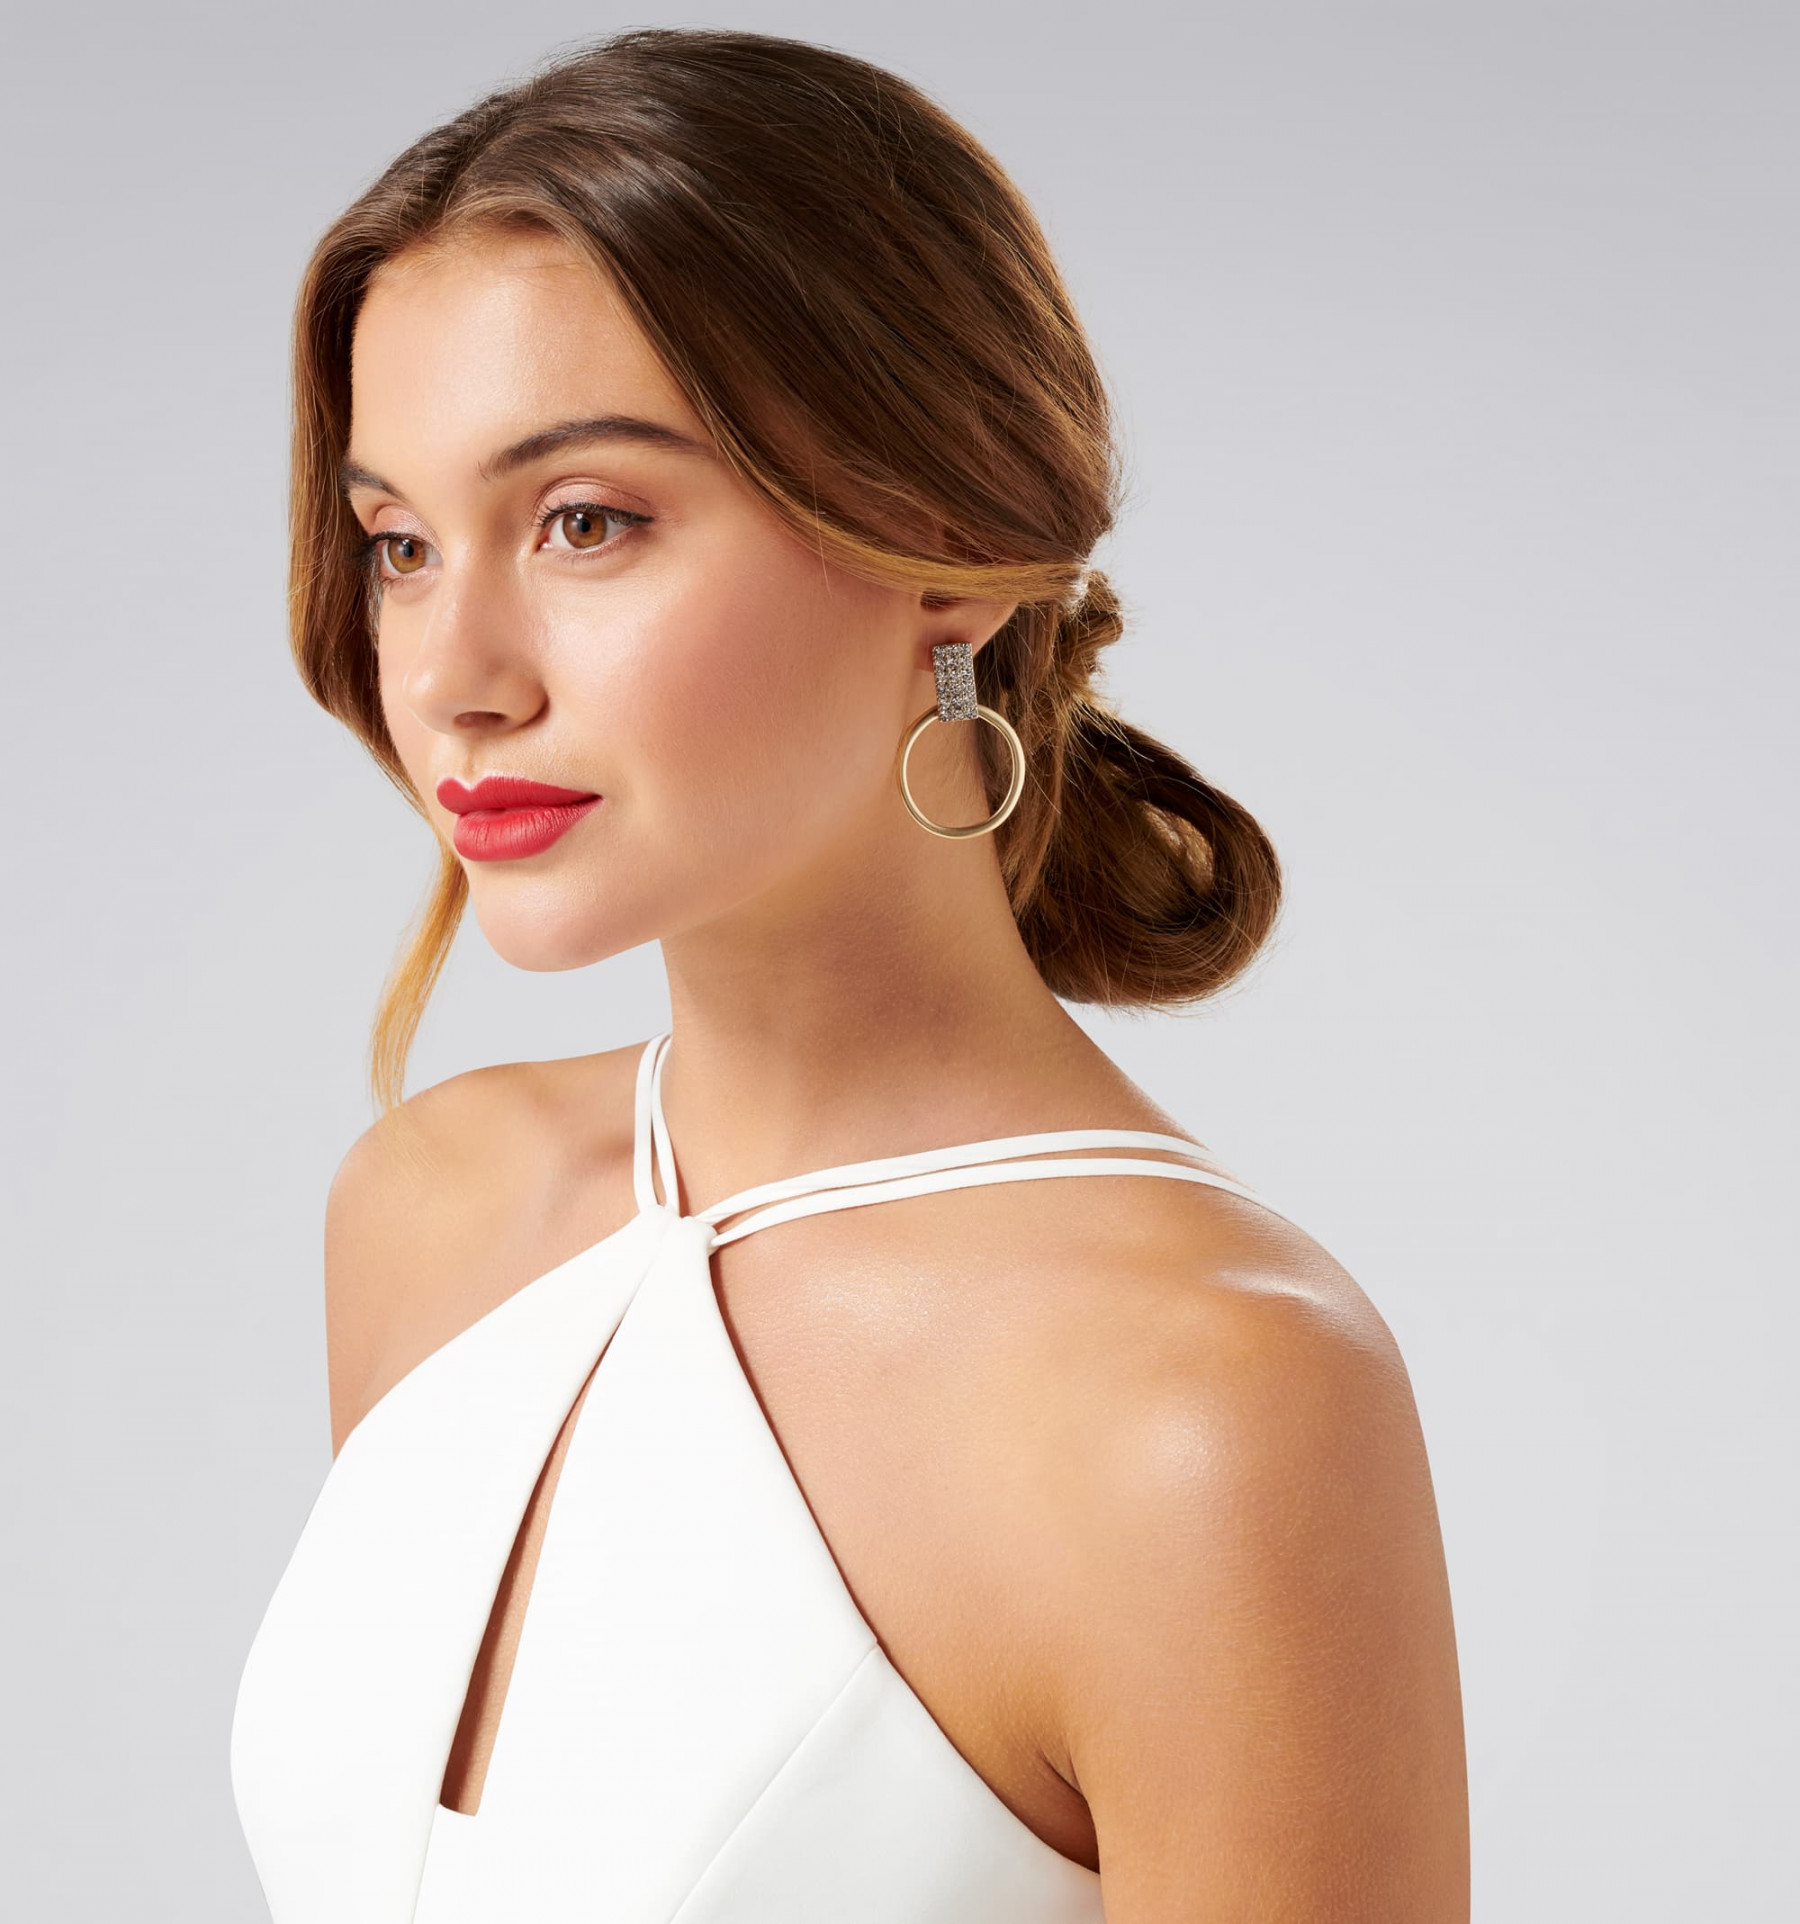

Next up, choose an earring based on the hairstyle you will be having. A slightly larger earring suits an updo perfectly. A mix of silver and gold is also a huge trend in jewellery right now, as it will go with almost anything.
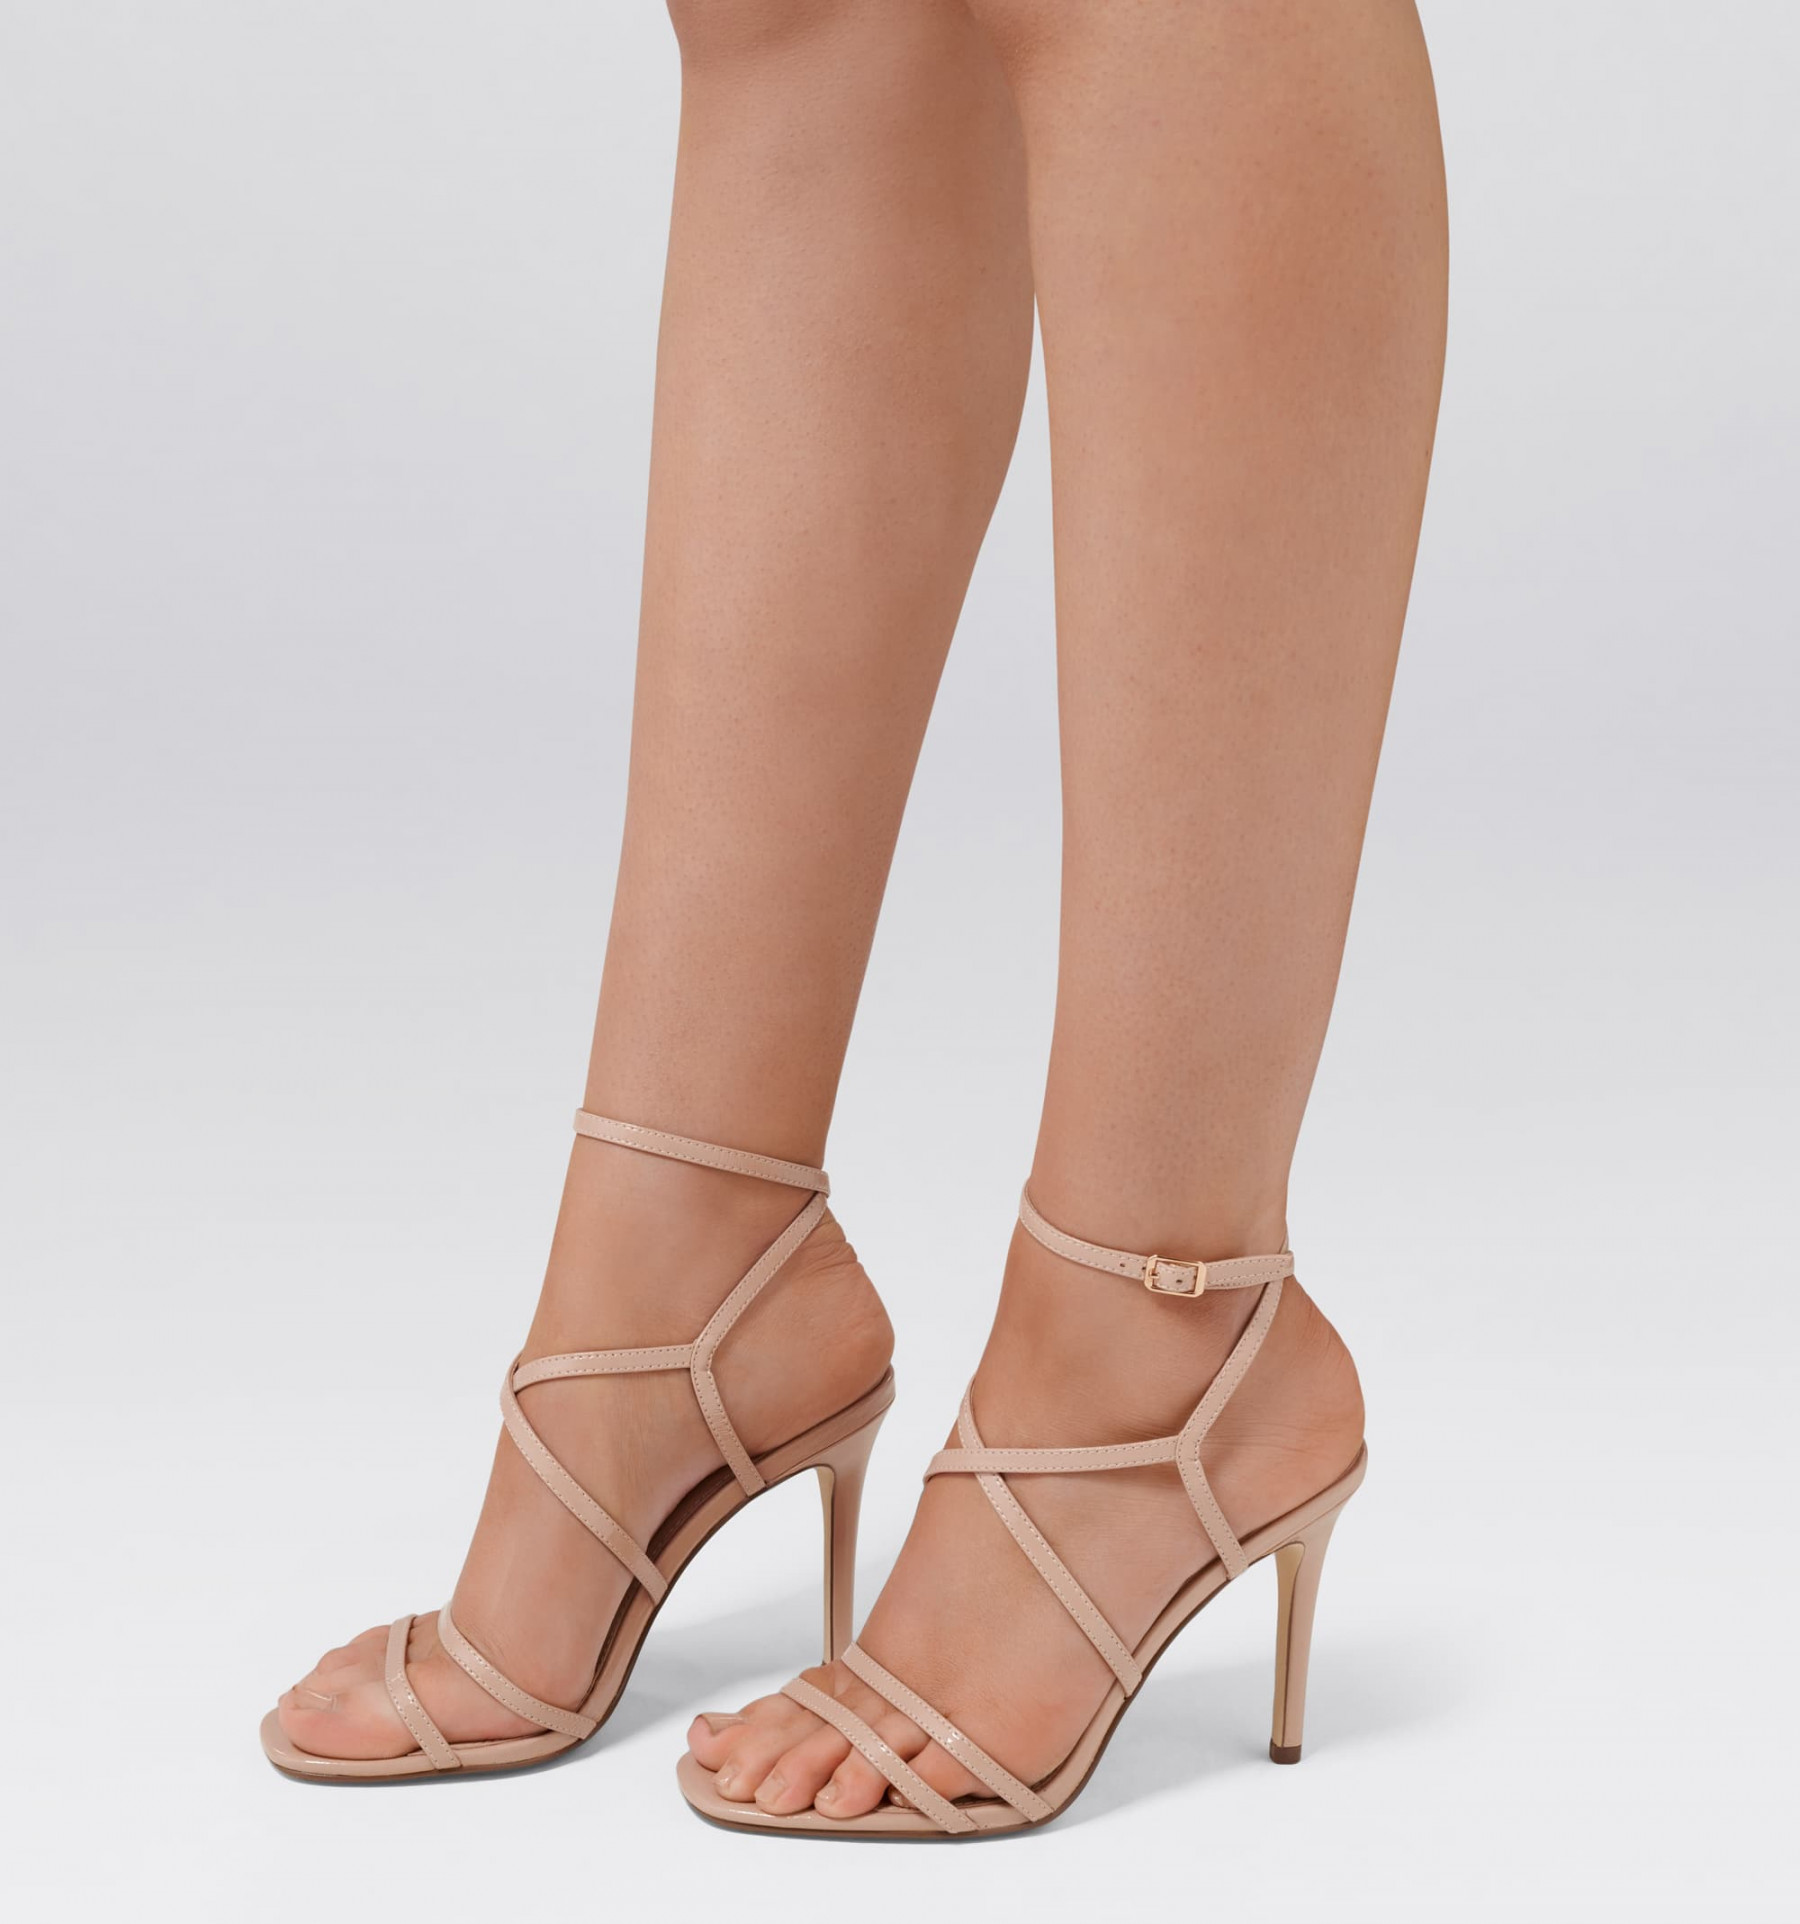
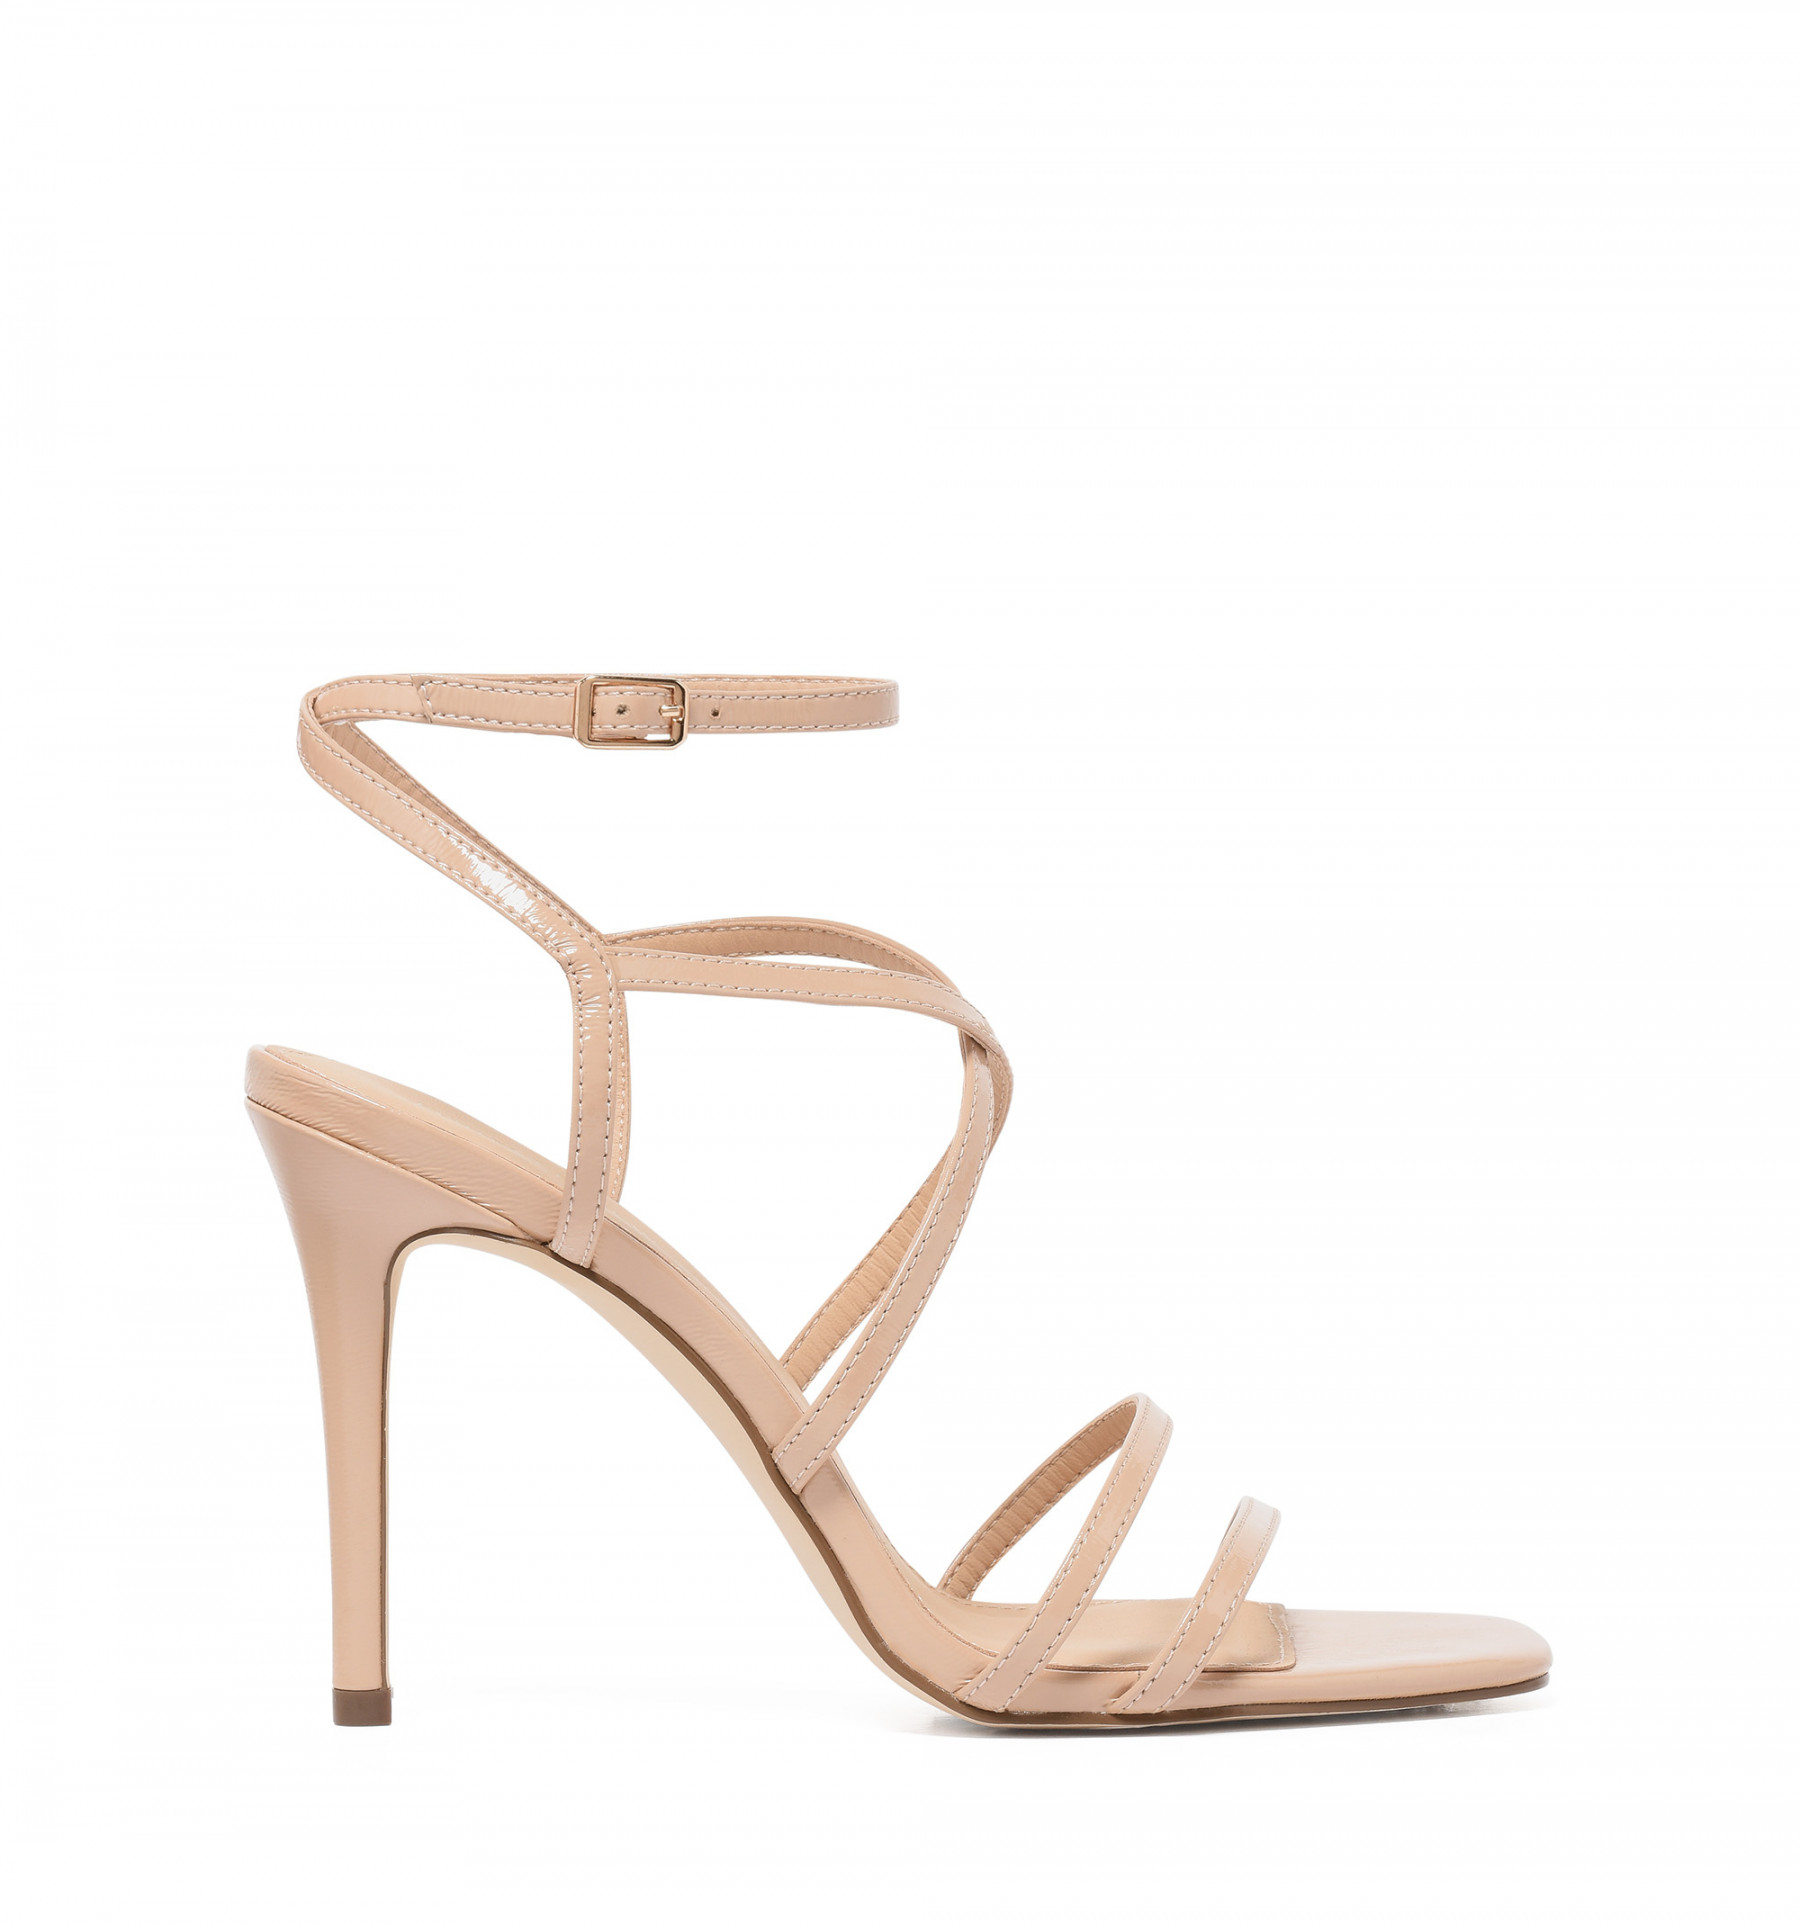
A neutral heel is always a perfect solution when deciding on the colour of a shoe. Not only is it a good staple shoe to have in your closest, but you can wear it with almost any look, whether it’s casual or more dressed up.
By Rojaun Devos
All images courtesy of Forever New South Africa