There’s one specific wedding moment that never really gets old: the confetti toss. Dried flower petals as confetti is surprisingly easy to make yourself. Plus, it turns something fleeting into something personal, especially if the flowers come from your garden, your bouquet, or a place that means something to you.
Here’s how to do it properly, without overcomplicating things:
Why flower petal confetti works so well
Petal confetti has become a wedding favourite for good reason. It looks softer in photos and it’s biodegradable.
It’s also:
- More sustainable than paper confetti
- Easy to make in bulk
- Naturally colour-customisable
- Far more “organic” in movement when thrown
And if you plan it right, it can even become part of your wedding prep ritual: a slow, satisfying DIY in the weeks leading up to the day.
The best flowers to use (and how they behave when dried)
Not all petals dry equally well. Some hold their colour beautifully, while others fade or become too brittle. The trick is choosing flowers that dry flat, light, and still visually interesting.
Roses (the classic)
Drying time: 1–3 weeks
Roses are the go-to for a reason. They dry well, hold their shape, and keep a romantic softness that works in almost any colour palette.
- Best for: blush, white, red, and peach tones
- Tip: separate petals before drying for faster results
- Result: soft, slightly curled petals with great colour retention
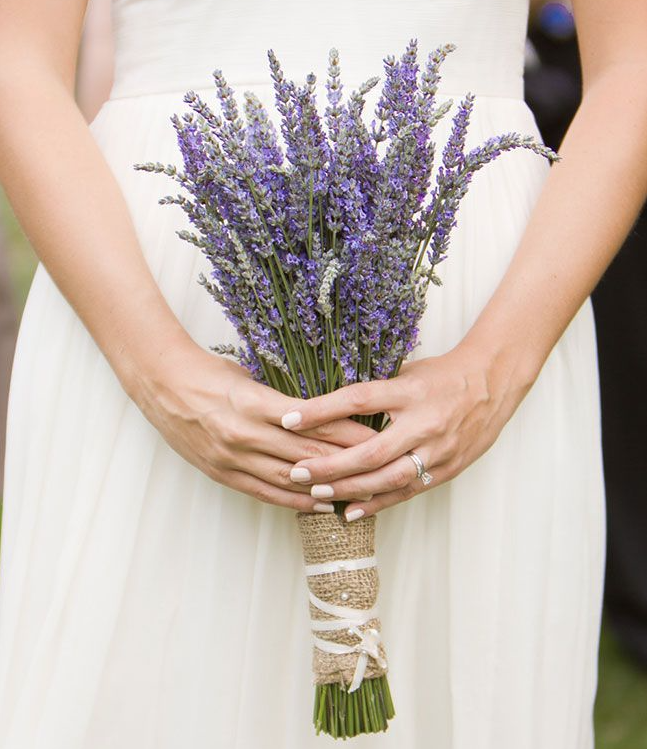
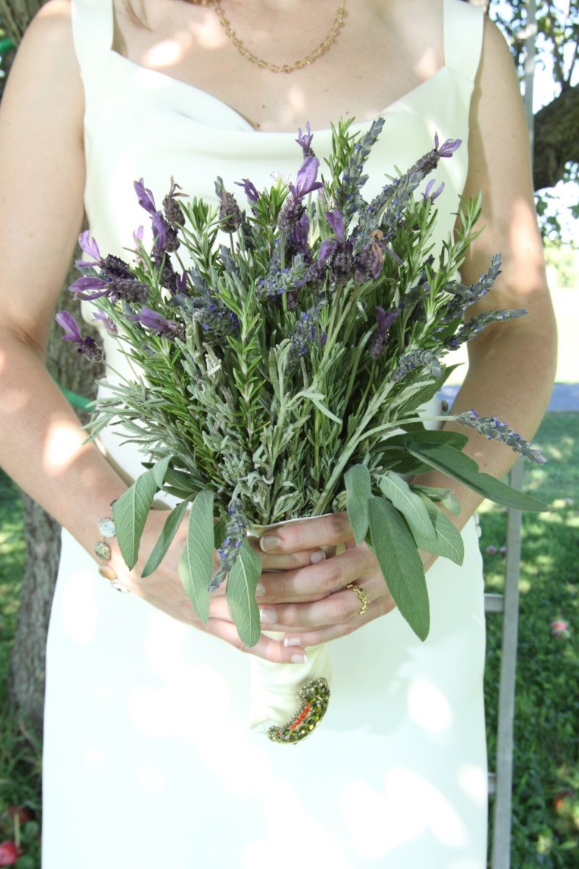
Lavender (for texture and scent)
Drying time: 1–2 weeks
Lavender brings something extra — not just colour, but fragrance and texture.
- Best for: rustic, countryside, or Provence-inspired weddings
- Dries quickly and cleanly
- Keeps its shape better than most petals
Marigolds (for bold colour)
Drying time: 1–2 weeks
If you want confetti that shows up in photos, marigolds are a strong choice.
- Bright oranges and yellows stay vibrant
- Petals dry flat and lightweight
- Ideal for summer weddings, especially in warm climates
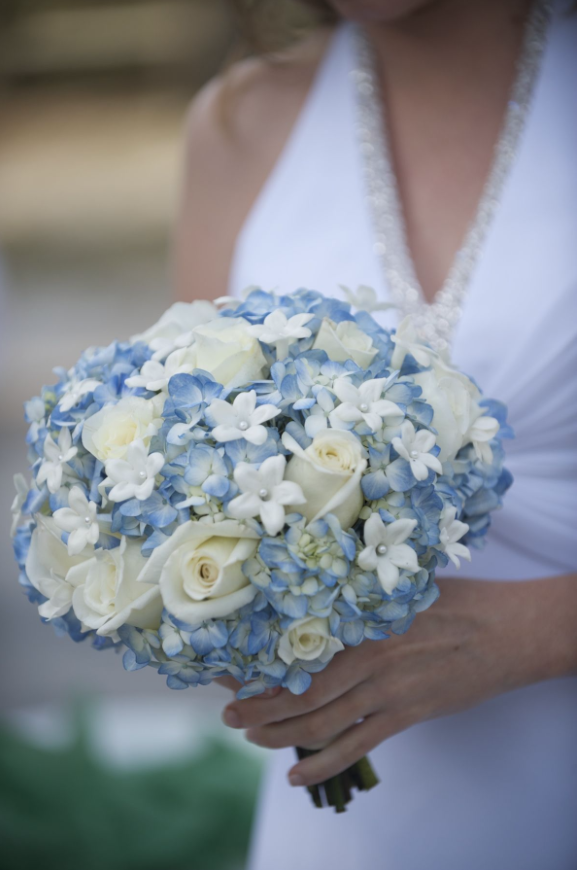
Hydrangeas (for softness and volume)
Drying time: 2–3 weeks
Hydrangeas don’t behave like traditional petals — they dry into delicate fragments that add softness and fullness.
- Best used in pastel or muted palettes
- Colours soften slightly when dried
- Adds a “cloud-like” effect to confetti mixes
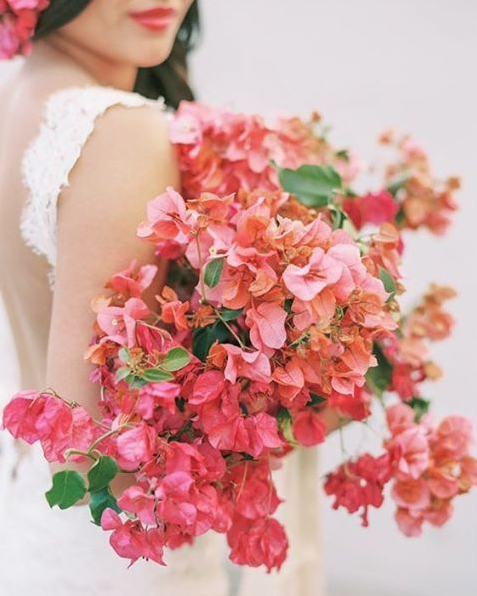
Bougainvillea (a South African favourite)
Drying time: 1–2 weeks
Bougainvillea is practically made for confetti.
- Naturally vibrant pinks, purples, and reds
- Dries quickly in warm, dry air
- Thin petals that flutter beautifully when thrown
Delphinium (for cooler tones)
Drying time: 2–3 weeks
Delphinium brings in those softer blues and purples that are often hard to find in dried flowers.
- Elegant and delicate
- Works well in coastal or garden weddings
- Needs gentle handling once dried
How to dry the petals (the simple way)
There’s no need for fancy equipment. Air drying works best and keeps the colour intact.
- Pick flowers early in the morning when they’re freshest
- Gently remove petals from stems
- Spread them out in a single layer on baking paper or a mesh tray
- Keep them in a cool, dry, shaded space
- Turn them every few days so they dry evenly
Avoid direct sunlight, as it tends to bleach petals and make colours dull.
Store your dried petals in paper bags or breathable containers until the wedding day.
ALSO SEE: Locally loved flowers for your wedding bouquet
Feature image: Ksenia Chernaya/Pexels